Sunday, October 13, 2013

Rescuing Photos and Creating Backups - Safe Storage at a Budget

I have managed to rescue all of my photos, and, I must say, I now have a backup system that is nearly complete. Since this blog is all about becoming a better photographer, I'm going to go through my current process, along with a few future tweaks that I hope to make.

Physical Backups

Not all things can be backed up!
First off, I did a little work and removed the hard drive from my completely dead computer, and installed it into my new desktop. This isn't too hard, and can be accomplished with nearly every type of desktop computer with a simple Phillips head screwdriver. Just make sure that you're not in an environment with a lot of static electricity, and don't bring any magnetic tools into the equation (it's just not worth the added worry). There are tons of YouTube videos that can demonstrate how to perform this process - it's super simple and took me a grand total of 10 minutes from opening the cases to closing them.

Of course, I made sure that I had my new desktop all set up and working before I installed the new hard drive in tandem. Fortunately, when I booted up, the hard drive was perfectly operational, and I was able to do a very simple copy/paste operation. It took some time, but I now had two identical copies on separate hard drives. I then scheduled my main hard drive to back up my photo folders once per week onto the auxiliary drive. Why is this important? If one hard drive should fail physically, I will still have everything on the other drive.

I made a second purchase: a Silicon Power rugged-ized 1 terabyte USB hard drive. If you shop around, you can get a good deal on this. Admittedly, it's a touch more expensive than other 1TB removable drives on the market, but as I plan on traveling with this, I paid the small premium for something that was dirt and water resistant. With photo backups, I would plan on getting a USB 3.0 capable drive for the faster transfer speeds. RAW files add up quickly! Storage is so cheap now that you can get removable drives that are lightweight, portable, and provide nearly the same amount of storage capacity as a standard internal drive. So if that theft or act of God happens to my desktop, I have a small piece of information security tucked away in a separate part of my home with the same data. Just make sure that when you load photos onto the desktop, that you copy them to the removable drive, too!

Next Steps for Improving Redundancy

What I have laid out above is a pretty good system - physical redundancy within my desktop computer. It isn't a RAID setup, but it's similar in principle and should prevent  any data loss due to physical drive issues. Why isn't this enough on its own? Both hard drives are installed on the same computer - should a pervasive piece of malware or a virus get on my machine, it could do damage at the digital level to my data on both drives. How do I protect from this? Get the best available antivirus software you can. AVG is an excellent freely available program (they make a pay version, as well), while Kaspersky Labs is widely praised for making the most complete computer protection out there.


This has nothing to do with data redundancy,
but is my best wide-angle shot to date!
The one bit of added security that I haven't yet taken is the easiest. Cloud storage. There are a number of highly regarded cloud storage services out there - this list is a good start. Your files get stored on a variety of servers throughout the world, and are easily accessible to you on the go. This is the ultimate in redundancy, but comes with a price. If you're like most digital photographers, your megabytes of photos become gigabytes VERY quickly. Most free services will be enough to start with, but, as you take more photos, you may have to splurge for a pay service.

Feel free to add any helpful tips or recommended products/services in the comments, and keep those photos safe!


Tuesday, October 8, 2013

50th Anniversary of the March on Washington - Part Two

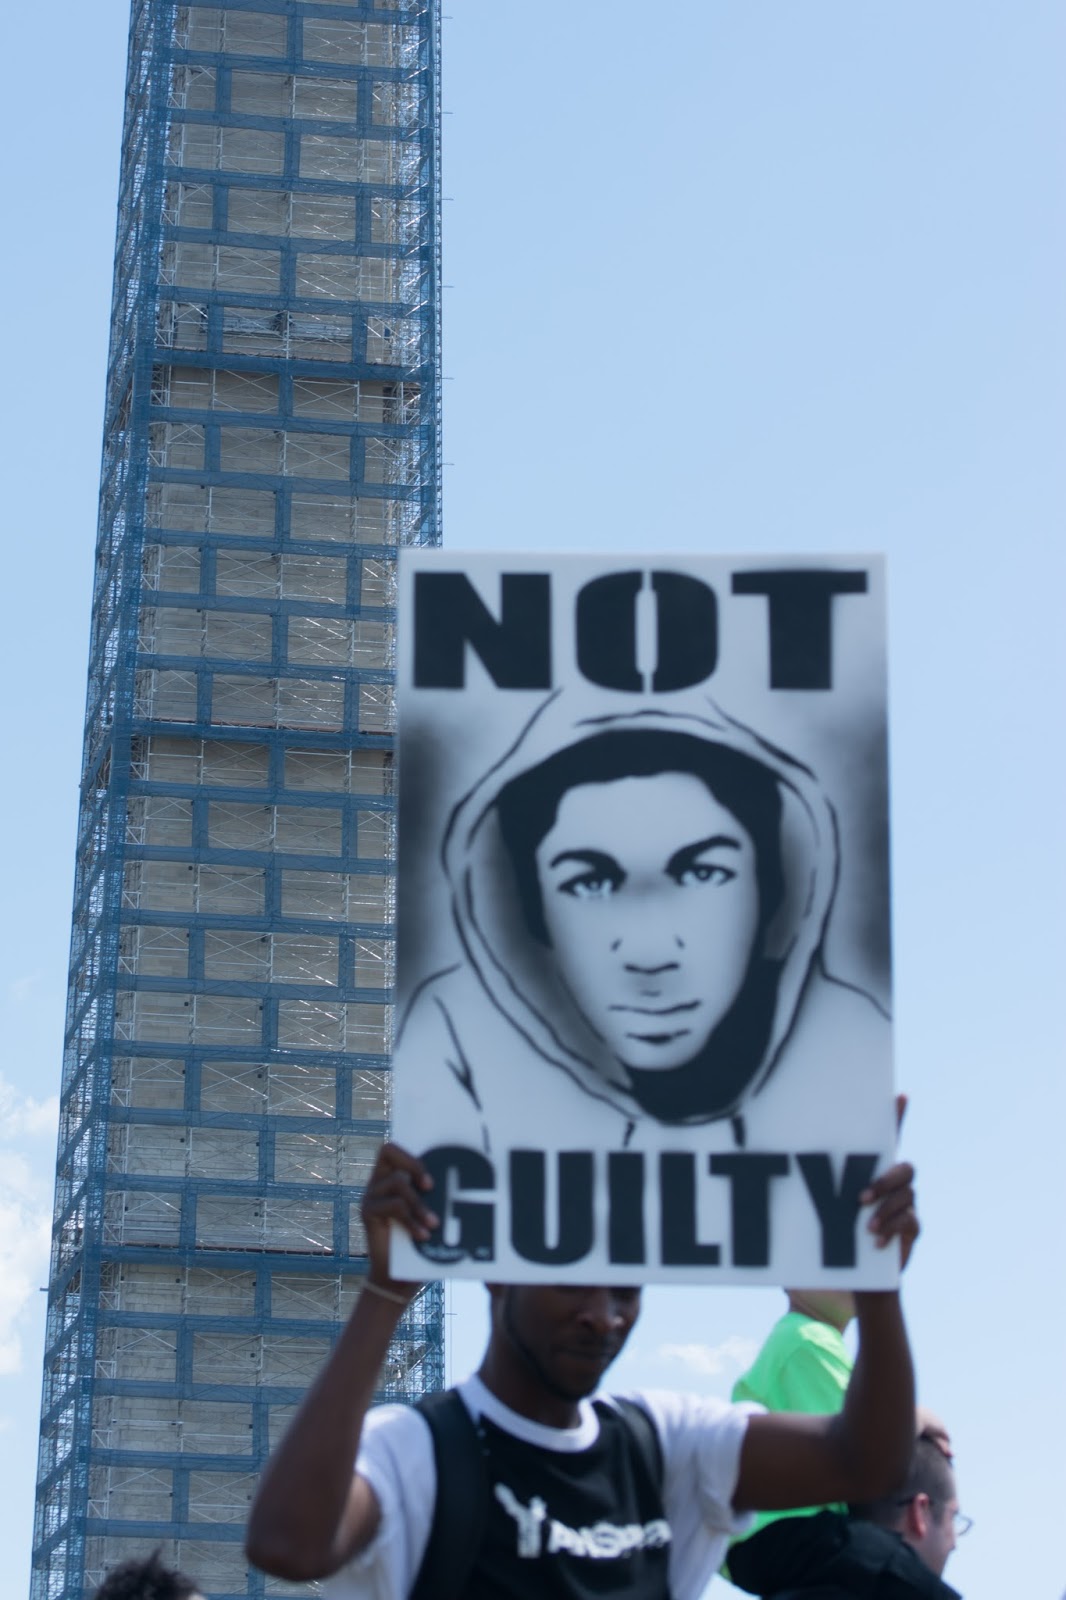
On the actual anniversary of the March on Washington, quite the event was planned - speeches, tributes; the whole nine yards. Seeing as how special this occasion was, and the fact that three Presidents would be there, I decided to rent a nice big zoom lens: Nikon's 80-400mm f/4.5-5.6 ED VR lens. (released in 2000)

I rented the lens from Lens Giant, which was a perfectly fine experience. Everything arrived intact and with no defects. Best of all, it was perfectly set up to pop the lens right back into the box and ship back to them. All in all, a super easy experience.

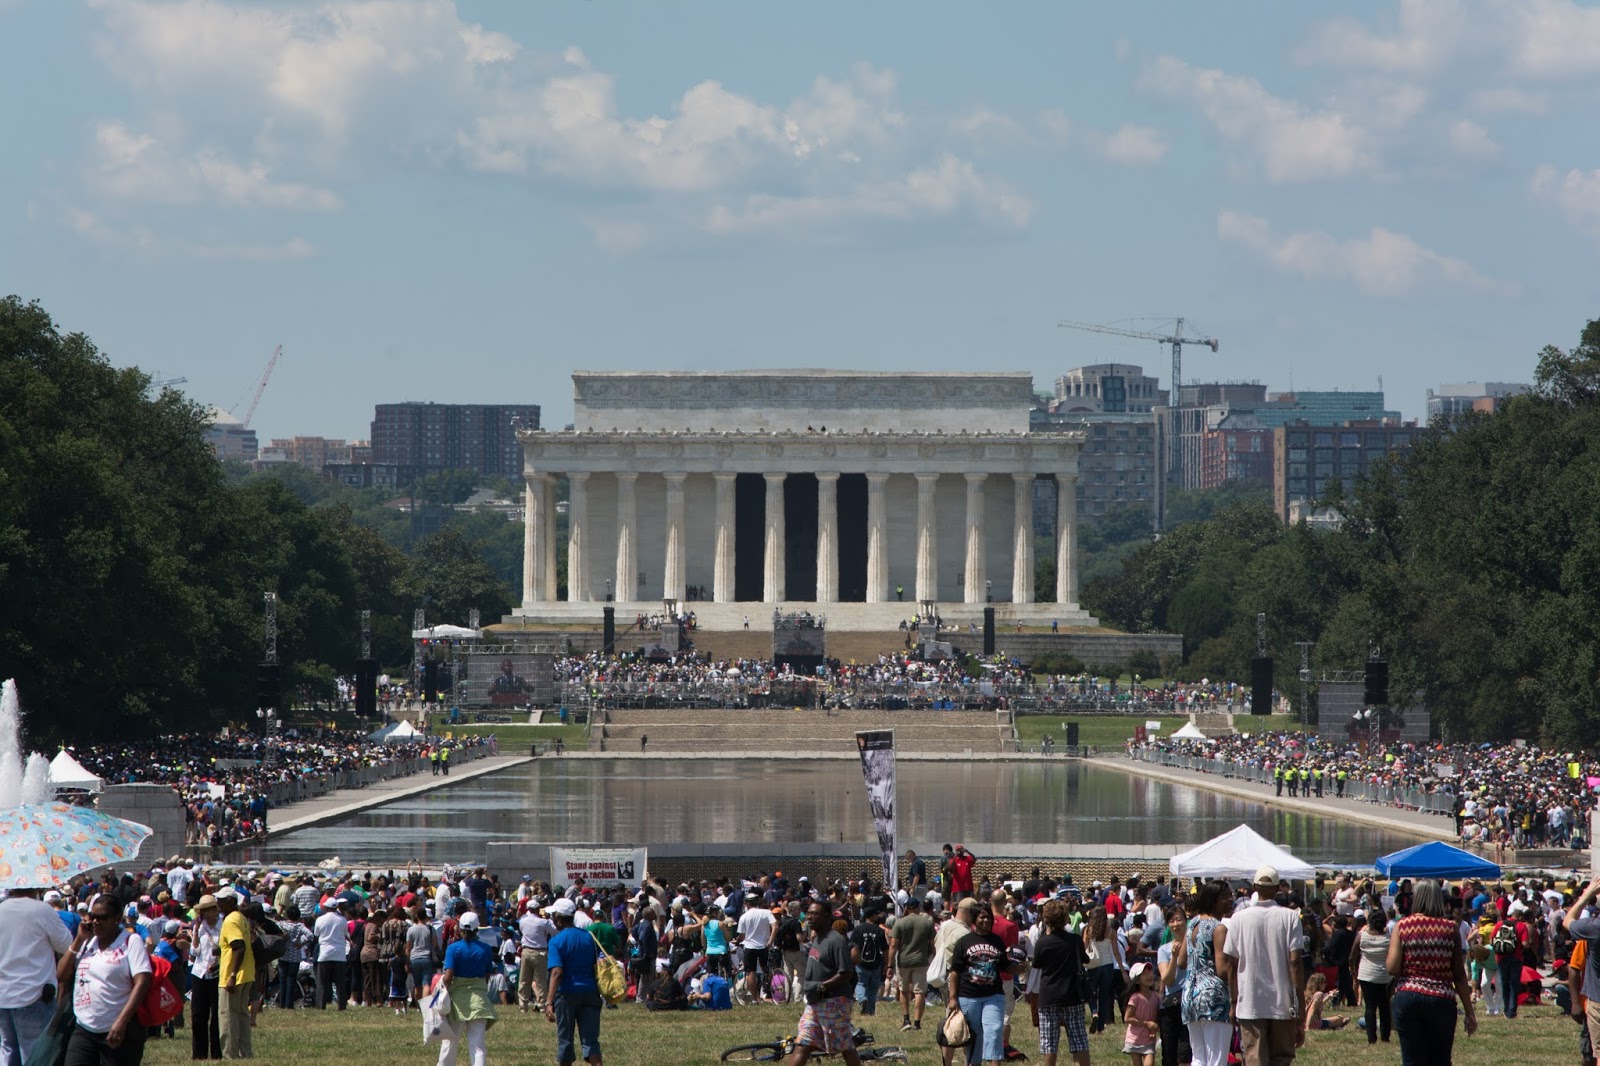
Using such a large telephoto zoom lens was a challenge. Every motion that you make is amplified when you're pressed all the way out to the limit of the lens. Fortunately, the lens' VR worked great. Of course, just to make things a little more challenging, it was a cloudy and rainy day, but with thin enough clouds to let some decent sunlight through. Since I was cropping down (despite the 400mm reach, I wasn't close enough to the Lincoln Memorial to be satisfied with straight out of the camera images), I put my ISO at 250. Silly me! Shooting at f/5.6 and 1/800 (to freeze motion at that distance and ensure sharpness), I really should have been up higher with my ISO settings. The pro-sumer D7100 is optimized for ISO 200 - I wasn't even making the camera work at 250!

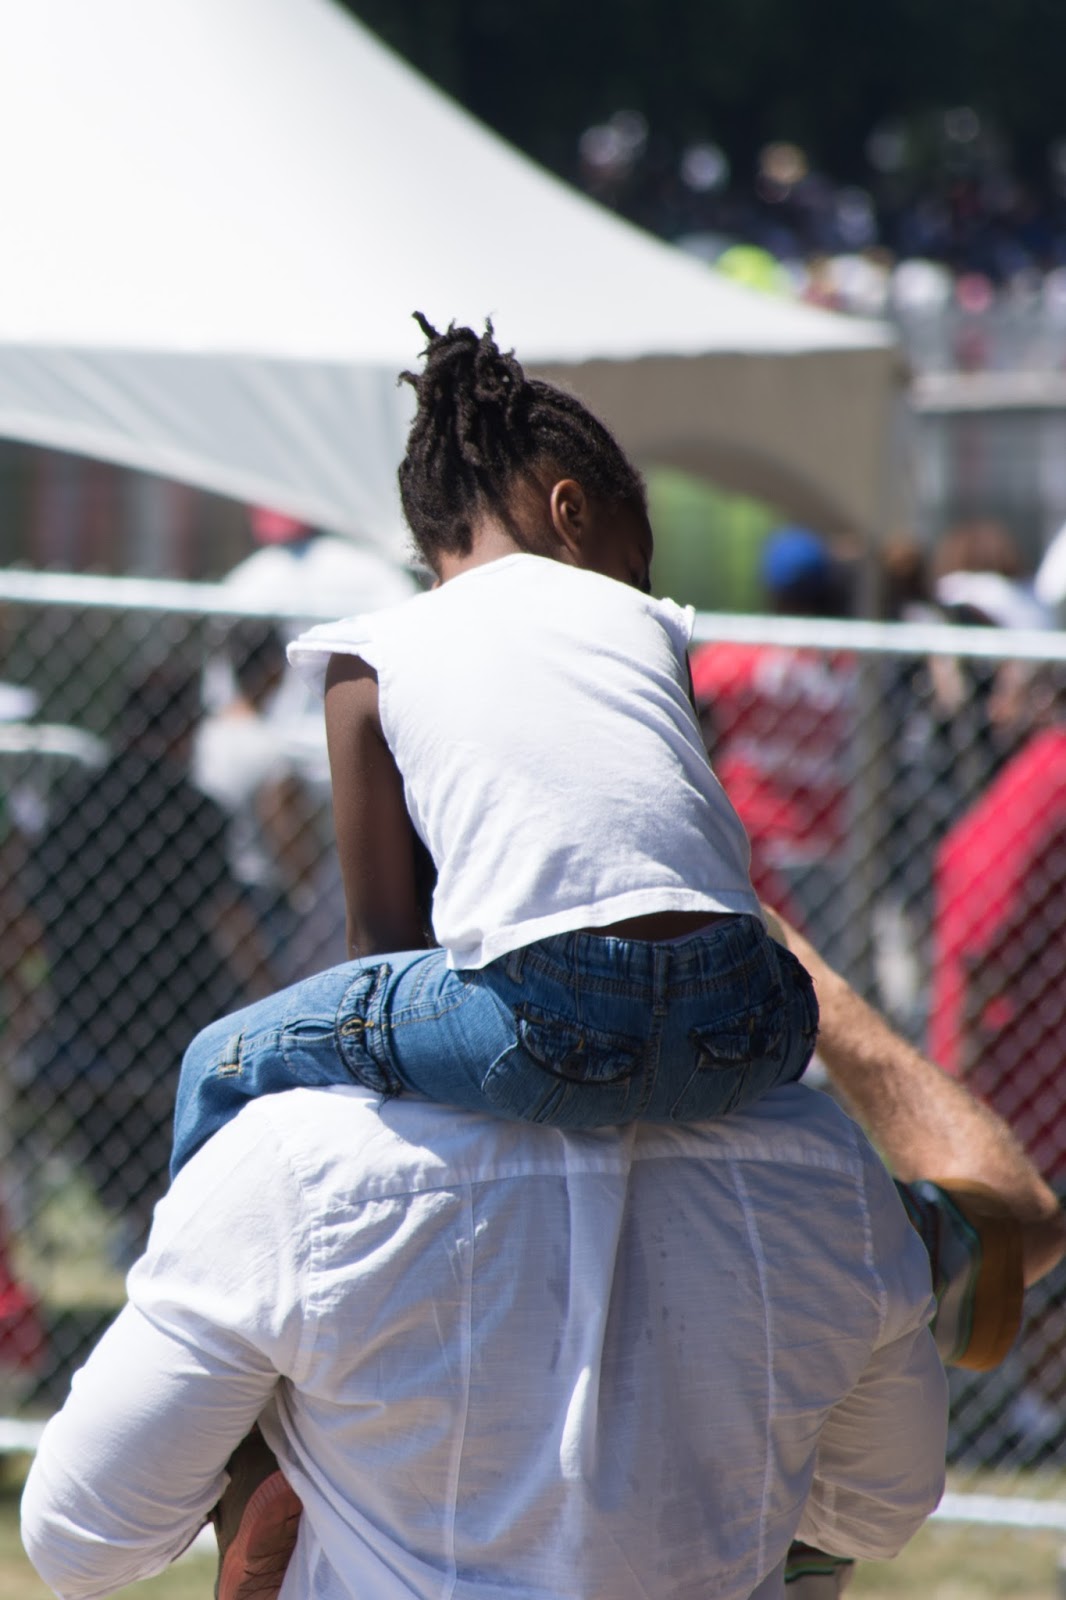
This was my favorite moment of the day. President Obama had just begun to speak, and this little girl was taking it all in from her father's shoulders. Then she started to use a camera to capture the moment. It was heart warming.


Equipment Used

Nikon D7100 Camera
80-400mm f/4.5-5.6 ED VR (rental)


Images


Sunday, September 8, 2013

Why no updates?!

Today we're going to cover a very important lesson: Don't wait to back up your photos! Recently, my Windows 7 computer has been exhibiting some troubling signs. So, I got a couple of 64GB SD cards, and was planning to transfer my photos to them, just in case. Almost prepared, right?

So, I boot up the computer with the intention of doing this. Boom, endless cycle of failure to repair the system and failed start ups. What did this? At a minimum, my RAM is hosed. Like badly. At worst? Motherboard, various controller cards, and the RAM are done. What is almost certainly ok?

The hard drive. Thank you, MemTest86, you allowed me to breather during a week of panicked troubleshooting. So, with almost 100% of the computer in a failed state, it's time for a new one. With an extra bay for a hard drive to be installed. It will be almost two weeks of waiting but I should be okay, and be able to recover the pictures and make up for lost time here. And will I be purchasing an external back up drive? Heck yes. Will I reformat my old hard drive after I rescue everything and make a RAID setup for my photos? Check.

Remember - digital memory is just as perishable as our own brains. Back it up. Not tomorrow. Not today. Yesterday. Hopefully I don't have to go shell out money for a data recovery specialist, but, if it comes down to it, that's exactly what I will do. And you can bet it will cost more than a $100, 1 Terabyte removable drive.

Once I get my data back, what will the Evolving Photographer have in store for you?
  • Part Two of the March on Washington, including my first experience with a super telephoto lens and online lens rental.
  • Some fun shots of the LADEE probe launched by NASA from Wallops Island in Virginia. D.C. was given a spectacular view. 
  • The results of an upcoming photo workshop - my first ever formal photography instruction!

Saturday, August 24, 2013

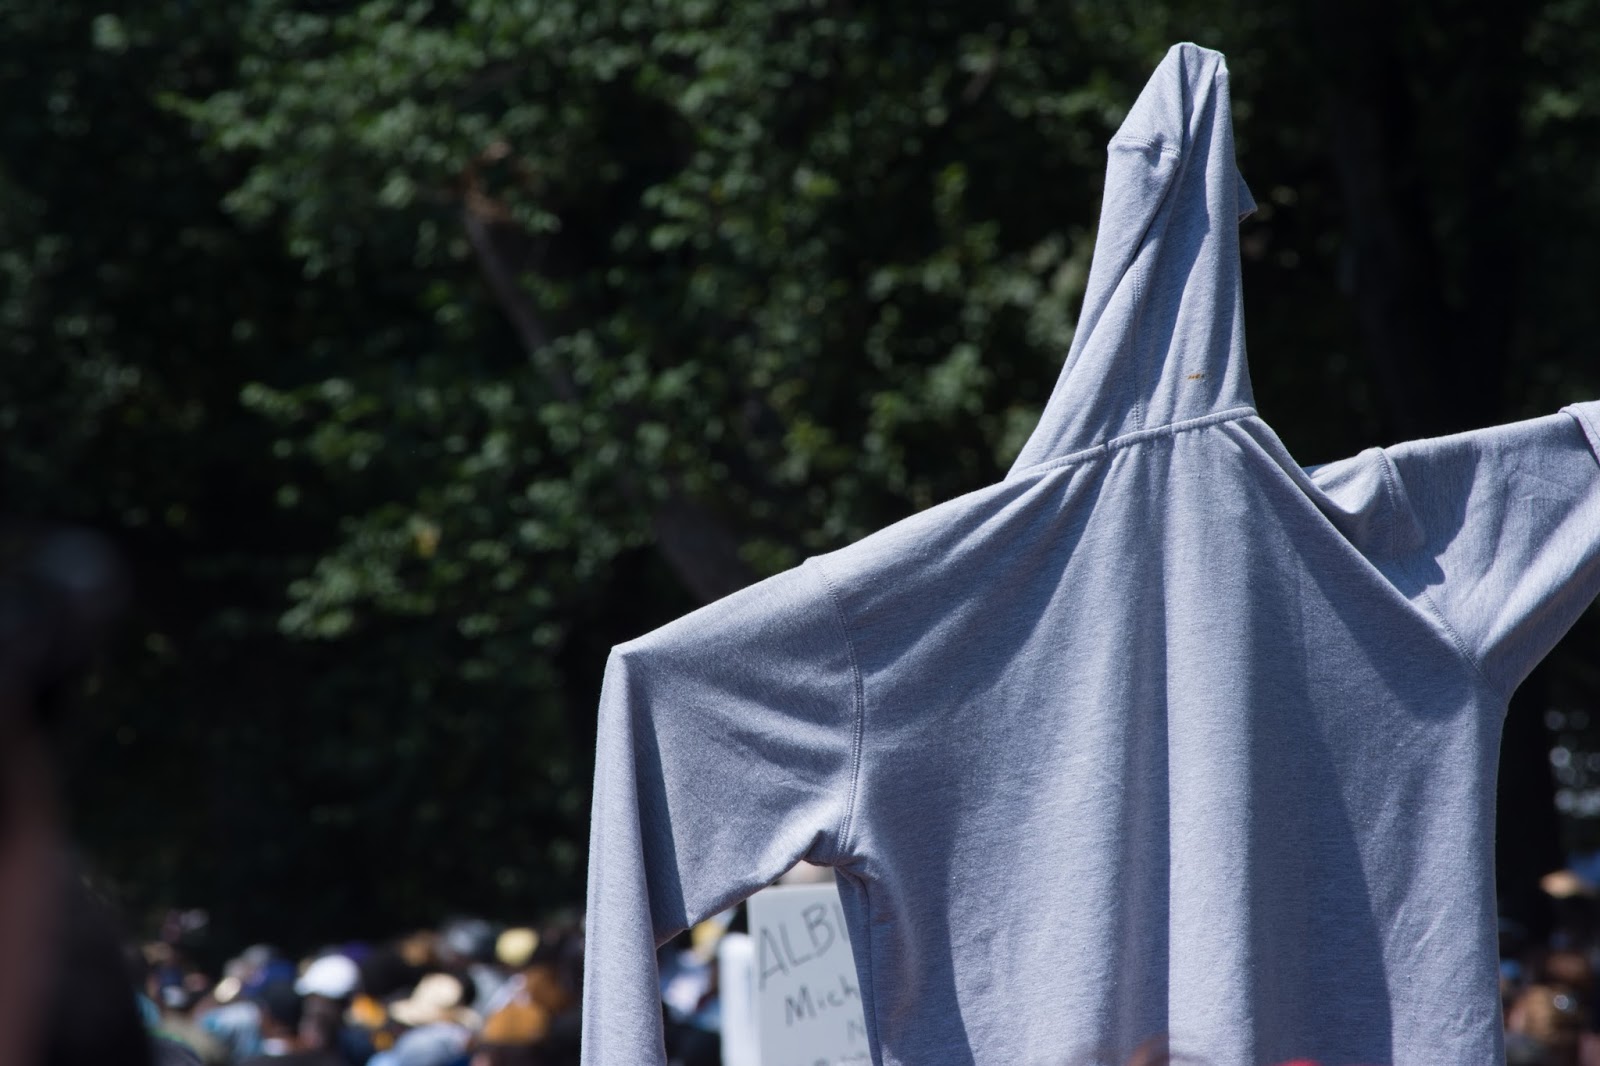
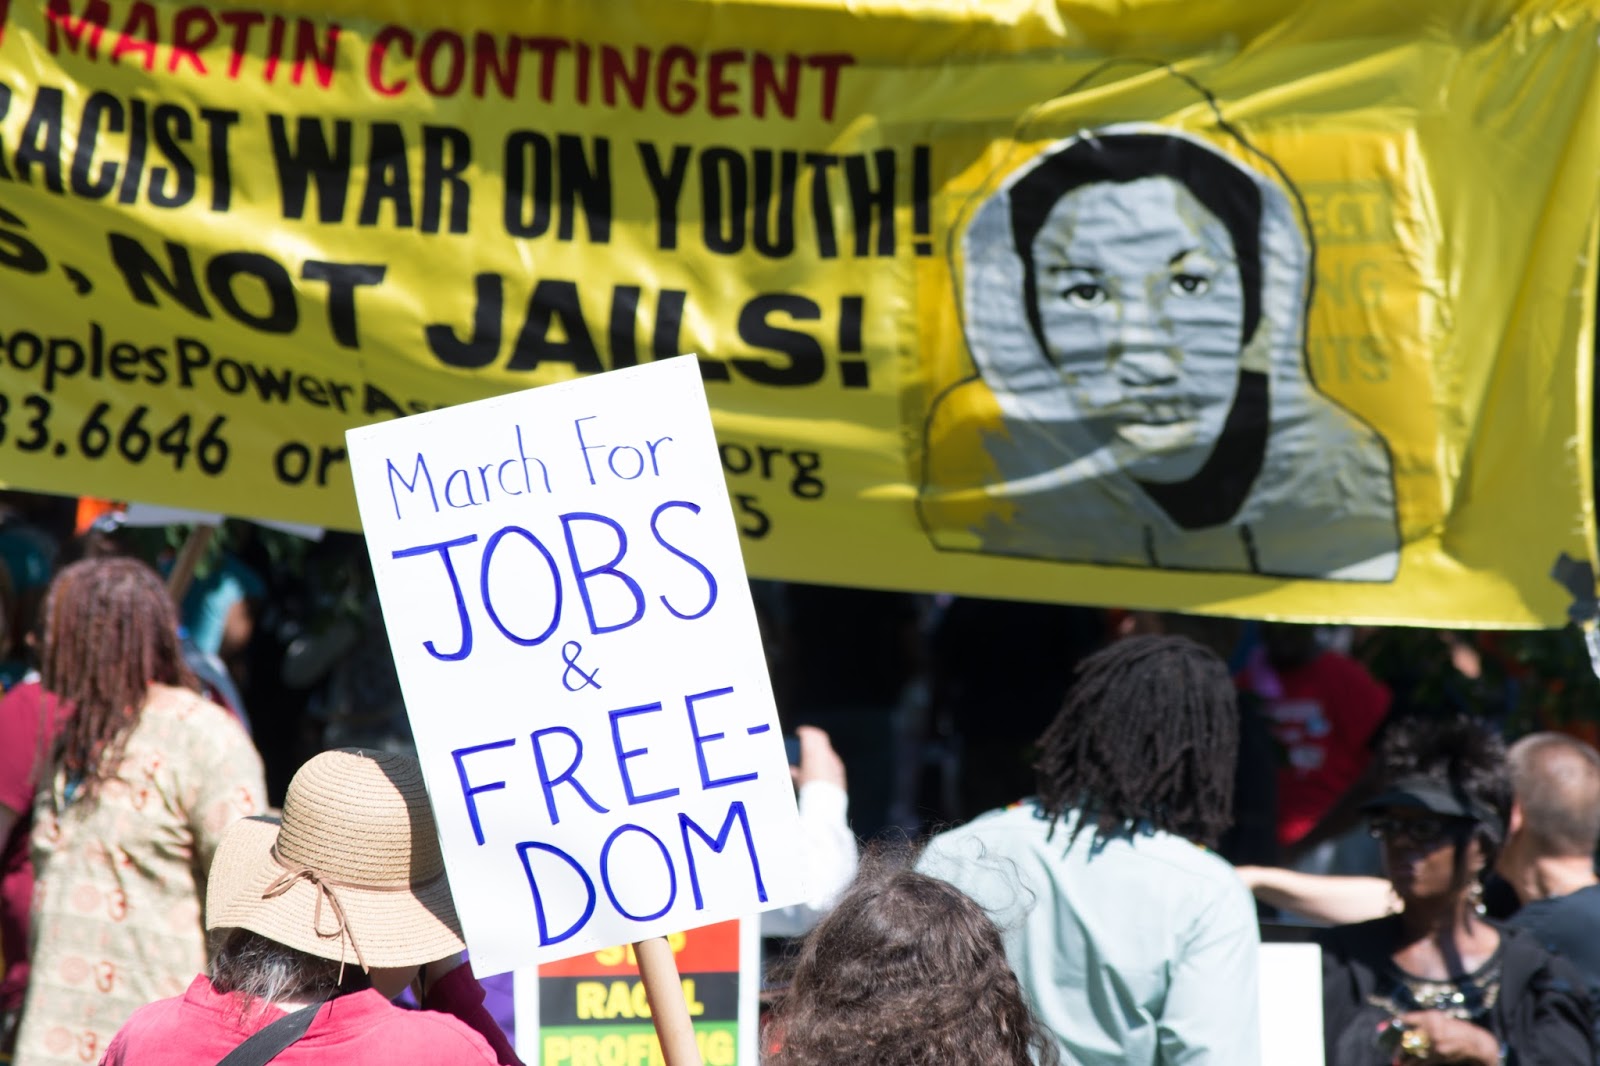
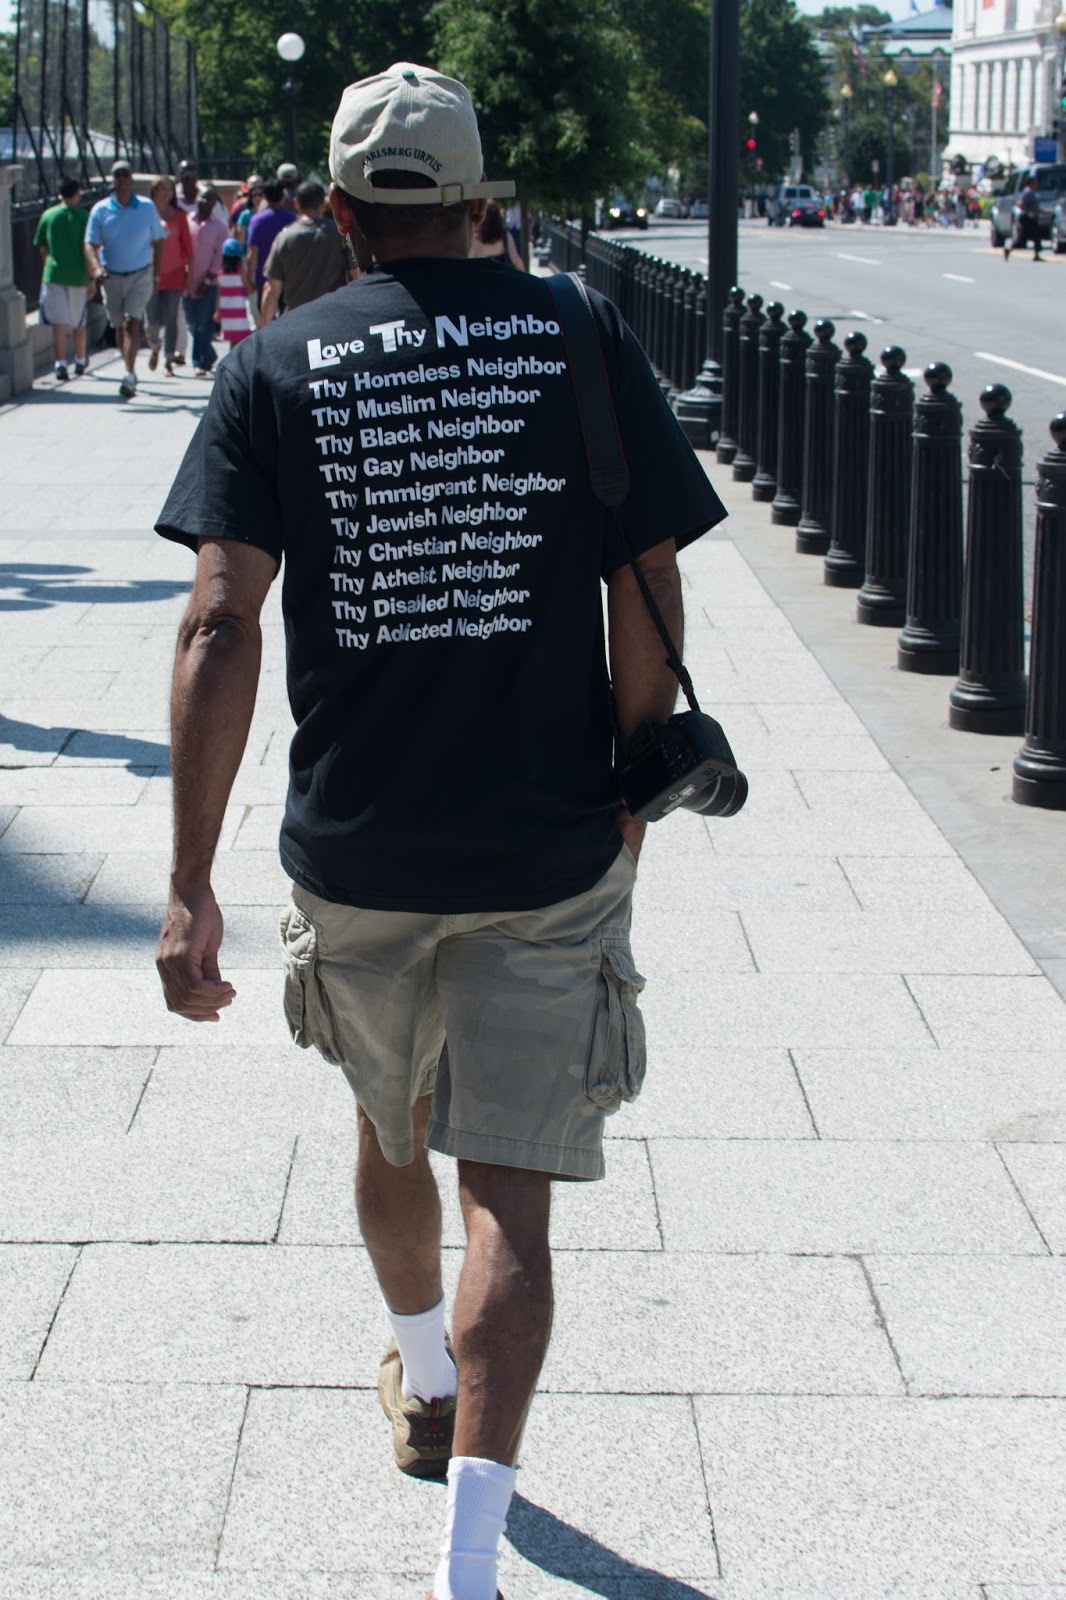
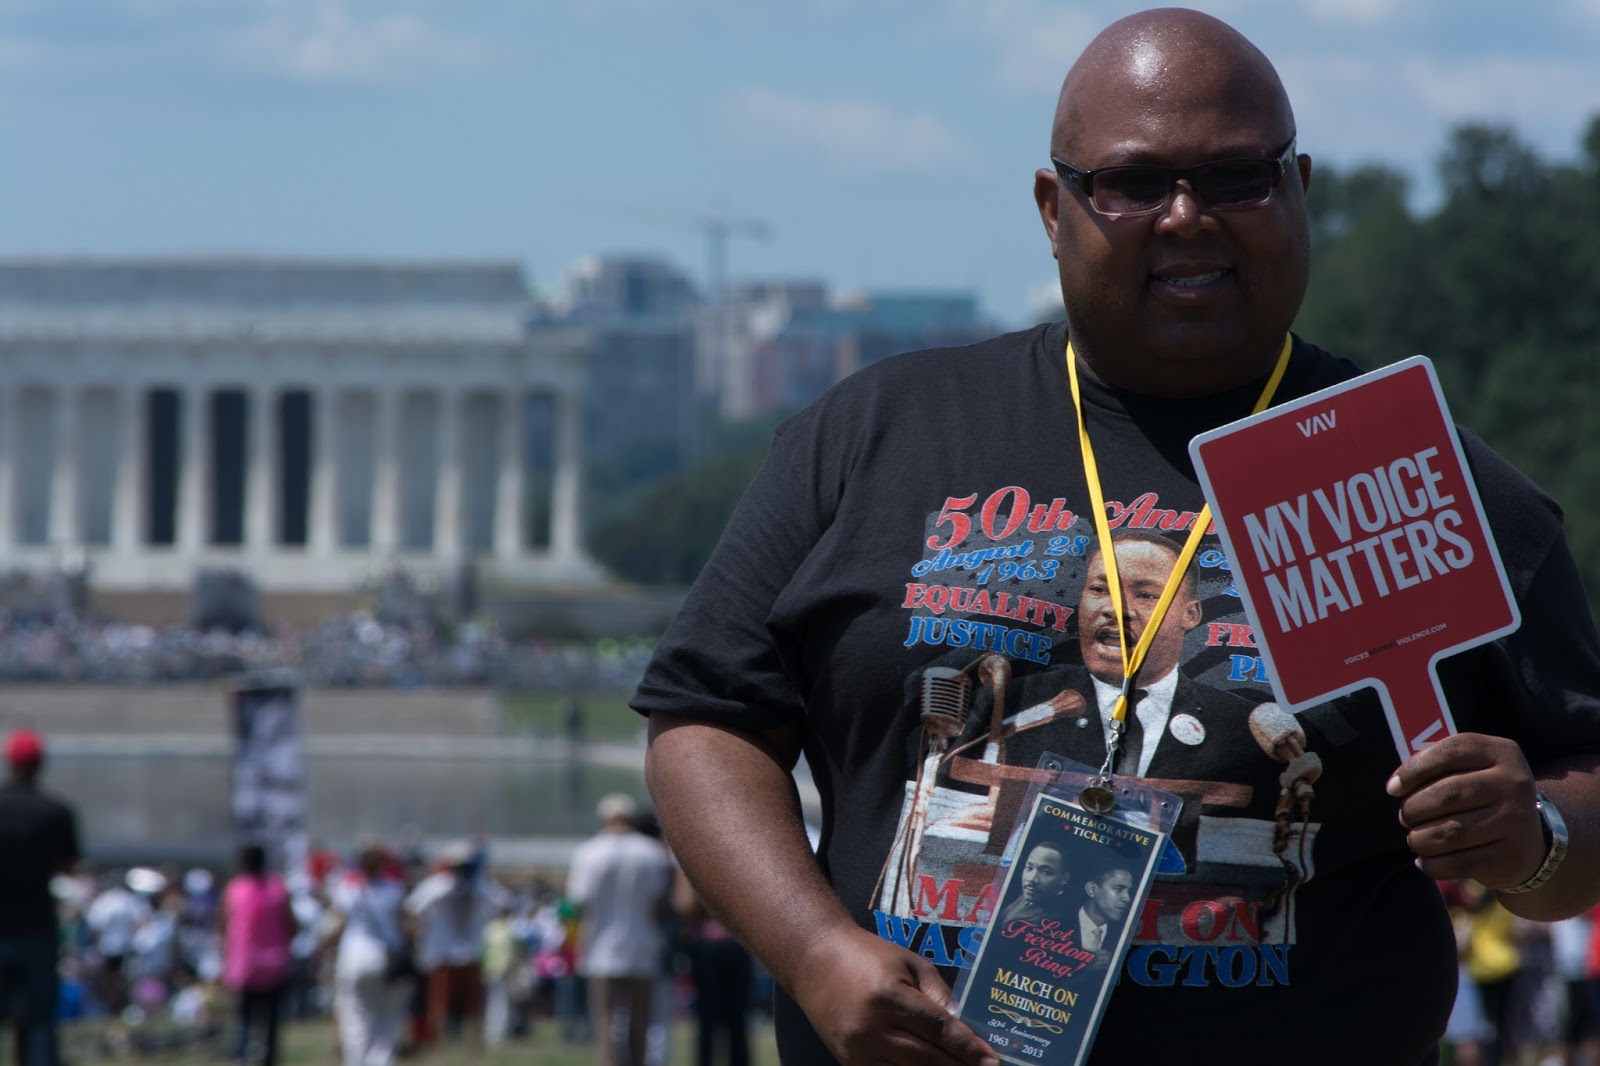
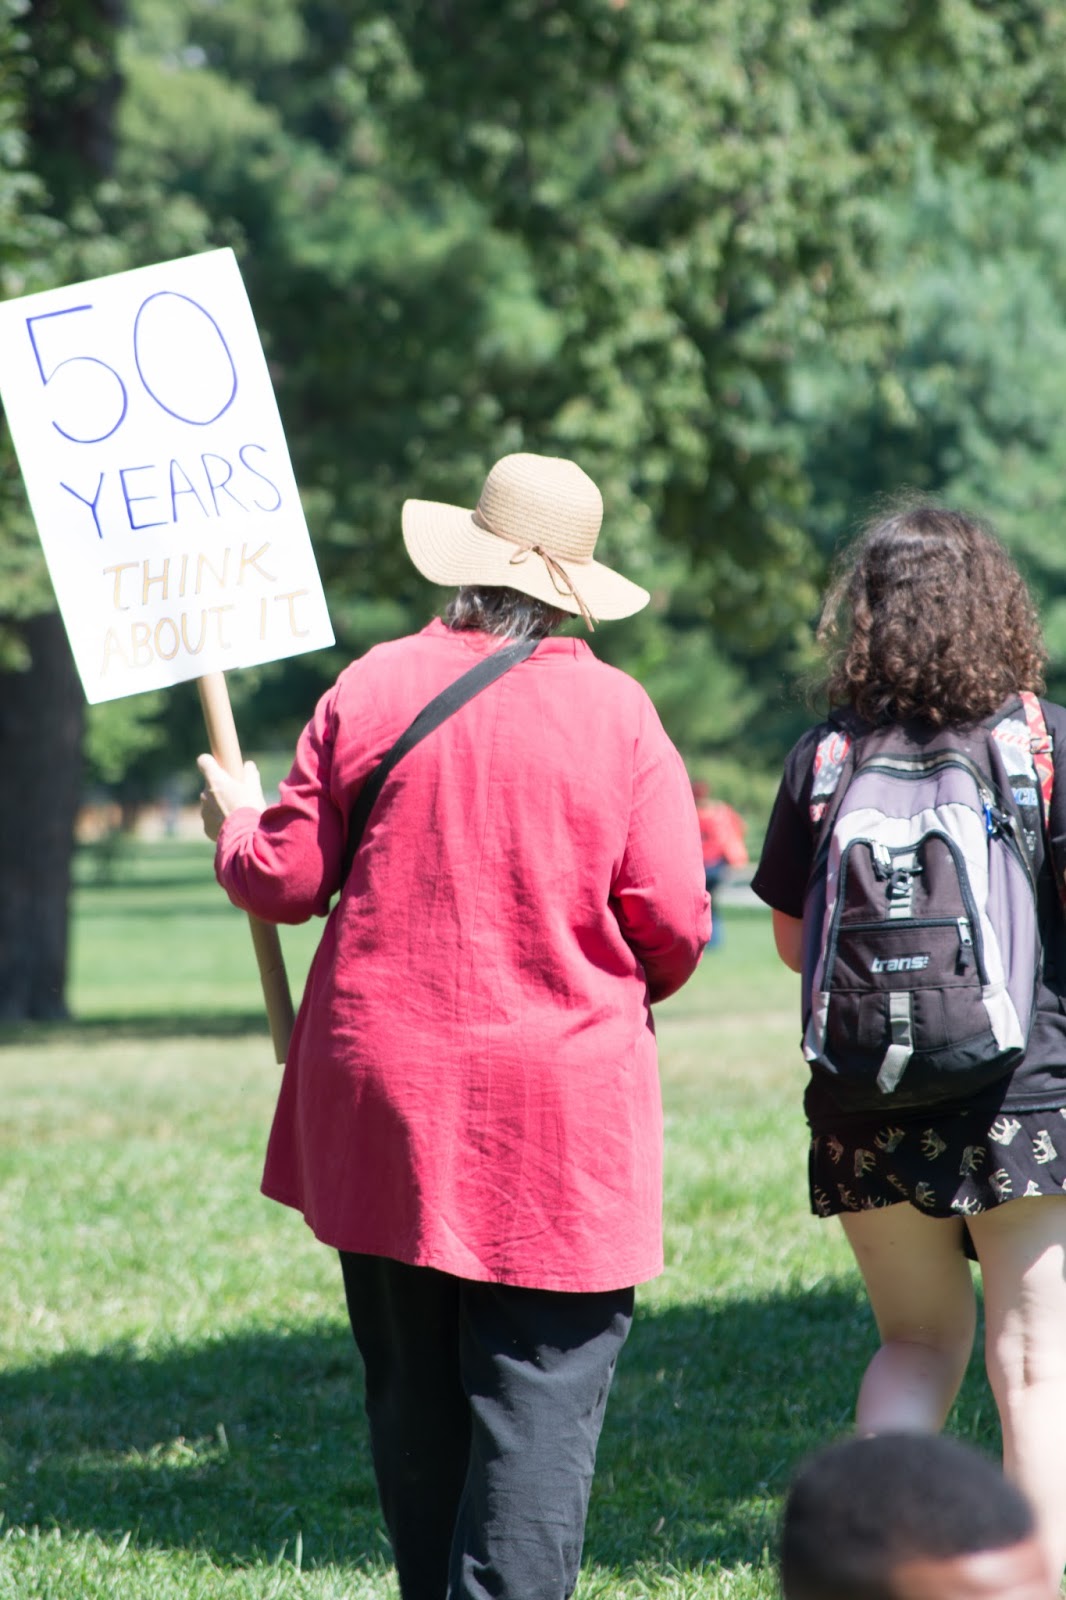
50th Anniversary of the March on Washington - Part One


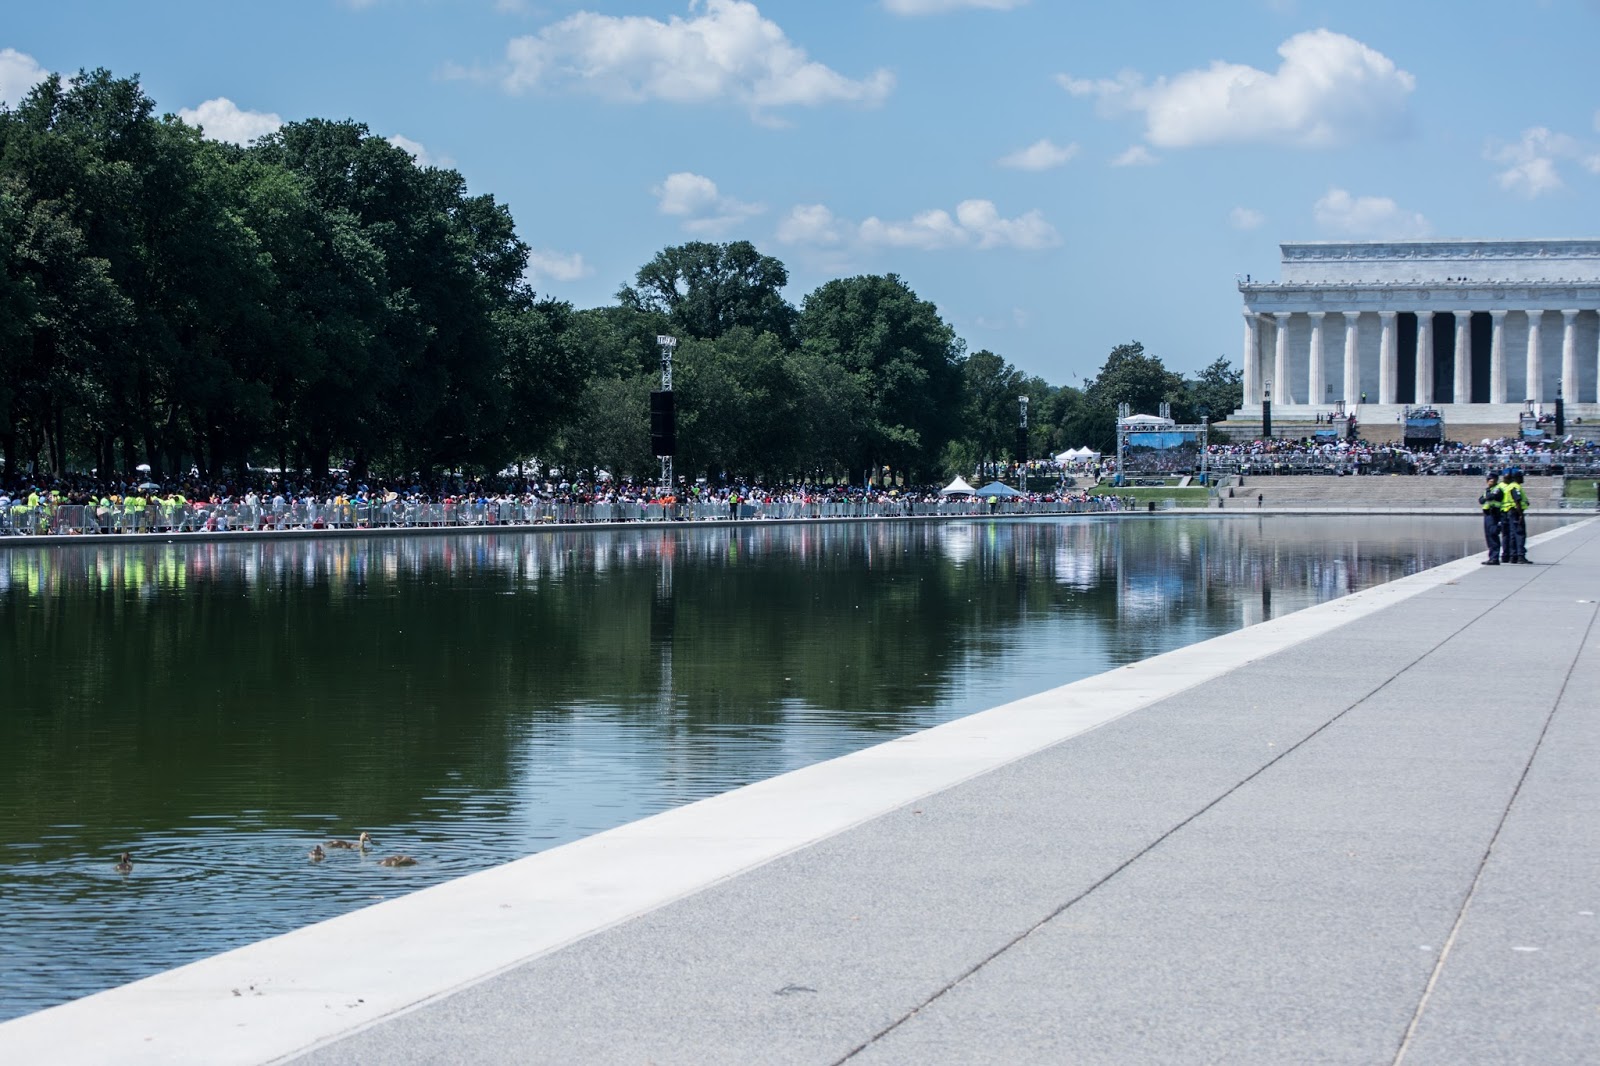
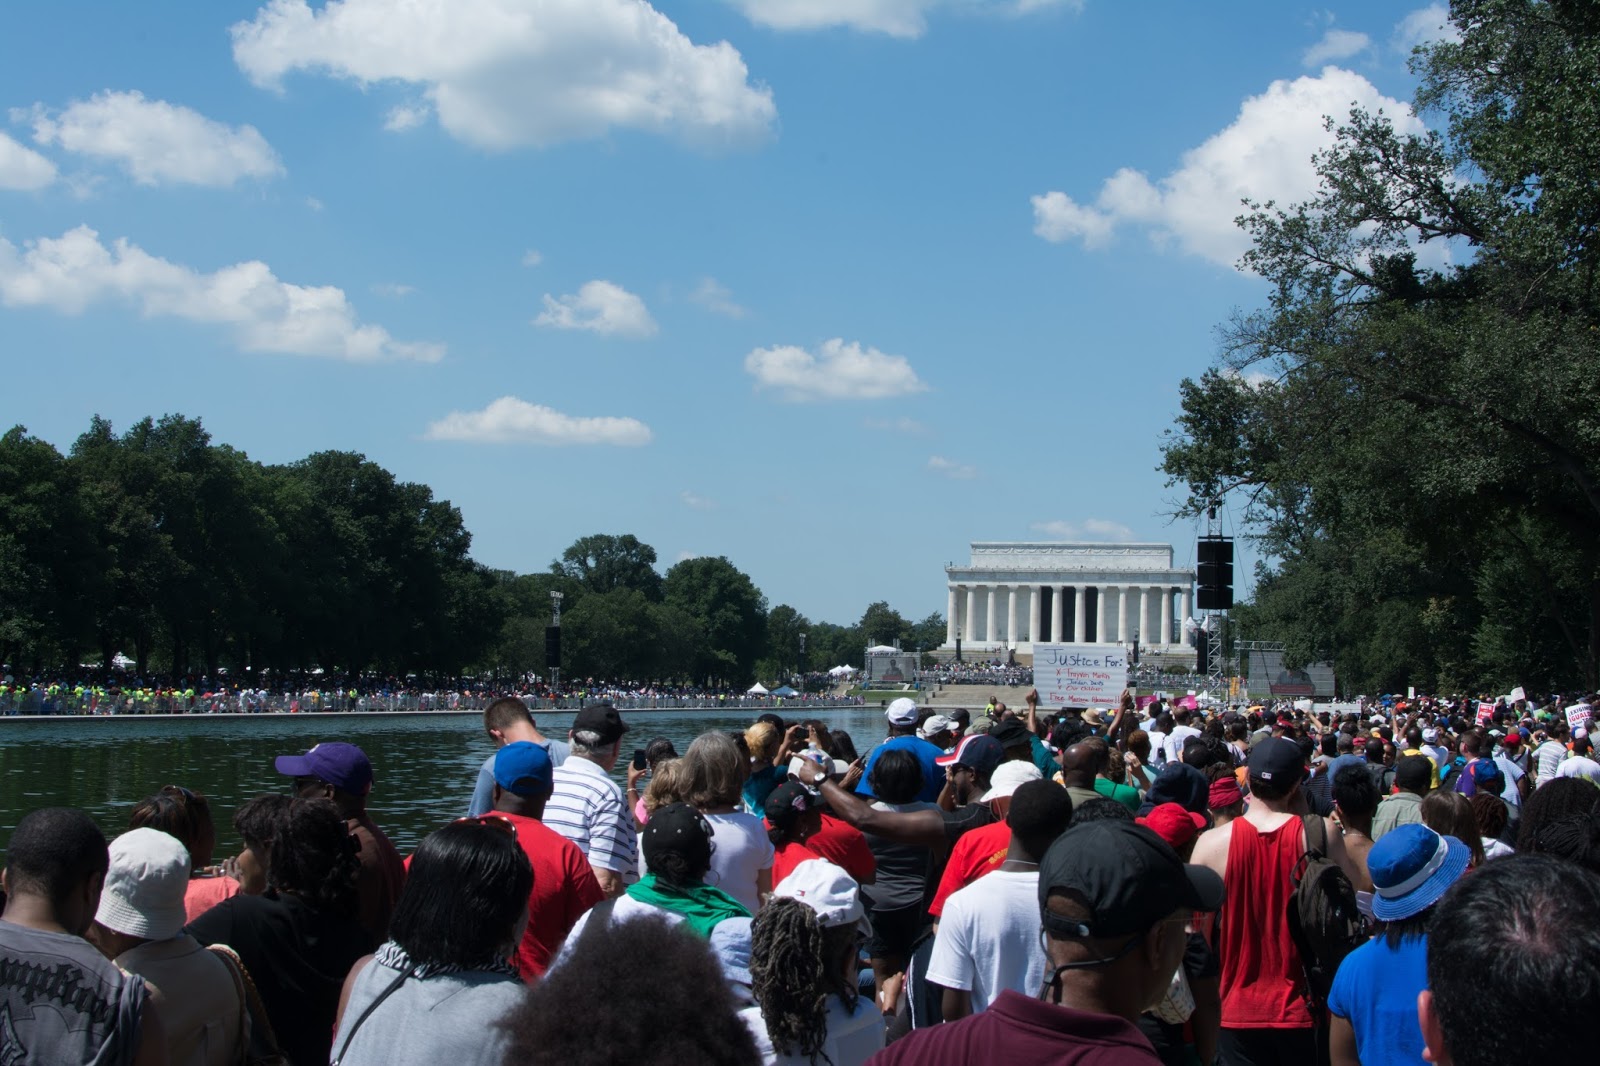
One of the great things about living in Washington, D.C. is that history is alive and well, nearly every single day. Today marked the celebration of the 50th Anniversary of the March on Washington, an important even in American history, and one that has special meaning to me. My great aunt and grandmother were at the original march, and, though they couldn't return, I felt like it was my place to go. In the course of my careers, I got to spend 20 minutes sitting and chatting with Georgia Congressman and Civil Rights champion John Lewis. Today, I got to hear him speak to thousands of people at the Lincoln Memorial, and it was just as special.
 
I've been to a few gatherings in D.C. before. I remember Glenn Beck speaking; I walked around before the 2013 inauguration events. Those were just different, somehow. It felt as if people weren't only there to witness something. There was an energy that was just... there. It was fun to take pictures of a day like this, but I don't think I could have possibly captured the energy or the emotion that was in the air.

I don't know how to pull that off yet. I've also realized that I like to put subjects on the right third of my photos. Now I'm going to have to force myself to put things on the left, just to see what that looks like!

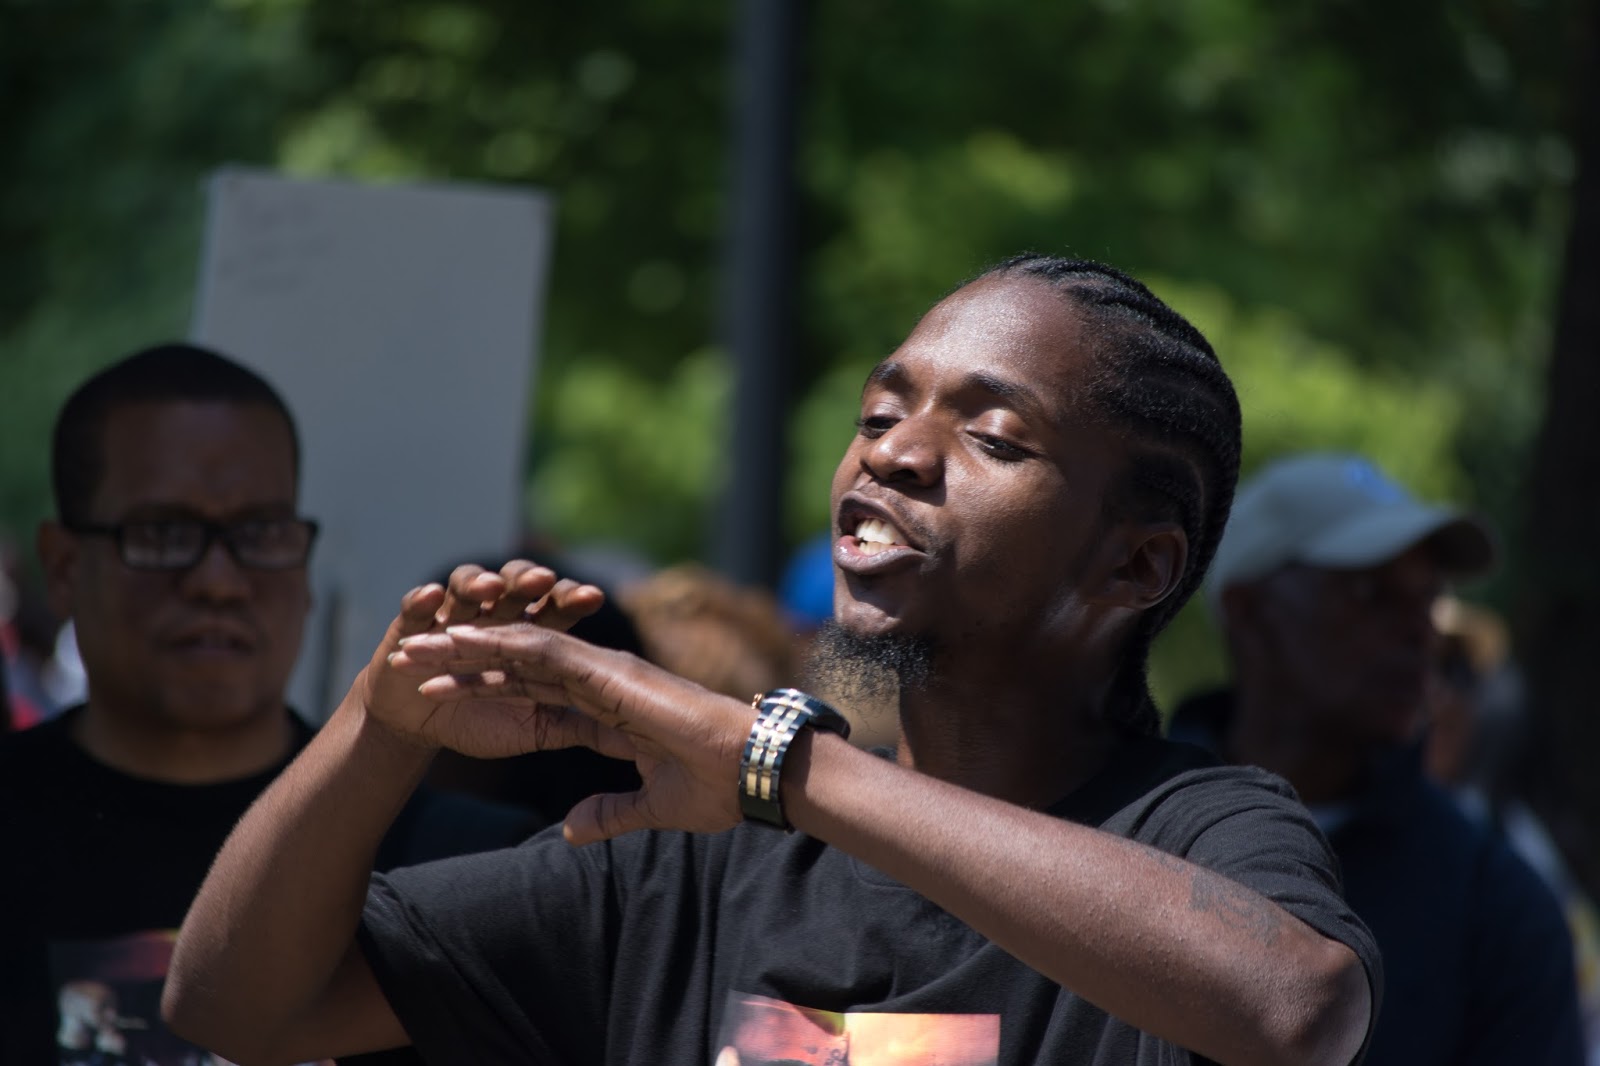
No matter one's politics, the significance of the historic occasion is unimpeachable. To see Myrlie Evers-Williams, the wife of slain civil rights activist Medgar Evers speaking, asking for the nation to "stand your ground" and fight for the ideals you believe in - shivers. The message of the day, when you stripped away the causes individuals were championing was quite simple, and quite beautiful - Take care of one another; be good to one another. Great lessons, on a great day.

I leave you with a shot of the one possession that I own which I would retrieve from a fire.


Equipment Used

Nikon D7100 Camera
55-200mm f/4-5.6 lens
35mm f/1.8 lens


 Images

Thursday, August 15, 2013

A Return to Nationals Park - Drama and Luck

So it was back to the place that made me realize that I needed a new camera to take the photos I wanted - or a new lens. I went with the new camera, and returned to Nationals Park for a game. Mind you, I was 50 feet away from my apartment without my camera before I decided that I should bring it. After all, I take my gear almost everywhere I go, why not to a game?

I love baseball. Specifically, I love pitching. I could watch a good pitcher for hours, and be perfectly happy. Luck was with my, and Tim Lincecum of the San Francisco Giants was on the mound - he's my size, but happens to be really really good at throwing a baseball in one of the most contorted motions out there. Leg up. Lean back. Kick. Point towards home. Unravel and deliver. Pow. 93 mph. Leg up. Lean back. Kick. Point towards home. Unravel and deliver. Pow. 74 mph changeup. He's just so fluid, smooth, and violent, all at the same time. It's a treat to watch (even if he did get shelled for one inning).

But the real highlight came later in the game. The Nats were comfortably ahead until the 8th, and then began giving the game back to the Giants. The stands were filled with suddenly ecstatic Giants fans (of which my friend was one), and a lot of teeth gnashing Nats fans. Two outs, and the Giants have clawed back to within one with a pair of runners on. The crowd was electric. Tense, excited, nervous - it was great!

The Final Pitch
Then, a high lined shot to left-center. The kind that is too fast to catch, and quickly sinking to the turf. Everyone spun to see the result, and I brought my camera up, figuring I could maybe catch a futile dive as the game skidded out of reach for the Nats. Nope. Not quite. I'll put the full-size pics up first. Go down to the "Images" section to get the cropped shots.

Please note - I put a copyright on the closeups because within 30 minutes of the game ending, the only other photo of the catch I saw, had already been thrown on a t-shirt.


Equipment Used

Nikon D7100 Camera
55-200mm f/4-5.6 lens


Images


Thursday, July 18, 2013

Lightroom and the American Civil War

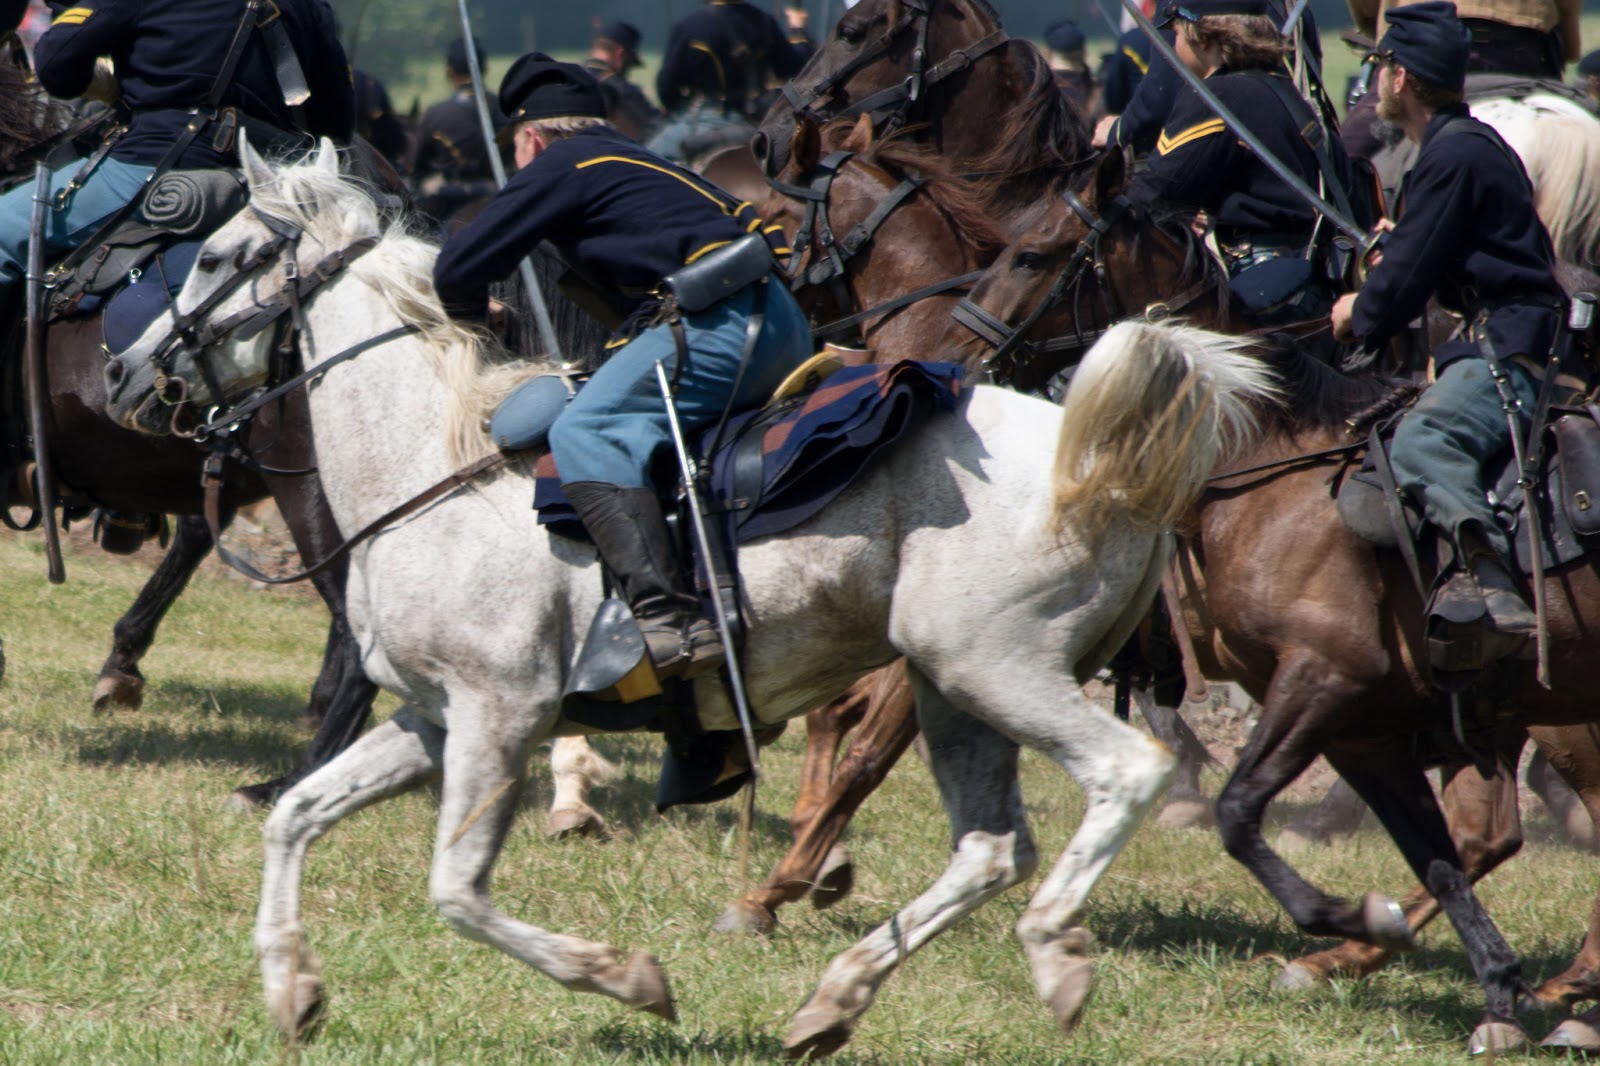
My latest photo excursion took me on a road trip to Gettysburg, Pennsylvania for the 150th Anniversary Reenactment of the Battle of Gettysburg. Now, this was my first full photo outing with my new camera, the Nikon D7100. While my July Fourth posting showed my first efforts with the camera, I at least was able to take my time and get the settings how I wanted in the comfort of an air conditioned apartment while preparing for a simple lighting condition - darkness. This time? Brilliant sun, shade, a variety of colors, and the challenge of switching lenses a few times on the fly. While I lost a few photos because I set the camera up wrong, by the end of the day, I came to a startling realization: The D7100 is made for a photographer who will use ever ounce of the camera's ability to craft a better image. With a little practice, the user should be able to alter the ISO, shutter speed, and aperture, all without leaving the viewfinder. With some serious practice? You'll never see the menu screen, and rarely look away from your scene.
In my last post I mentioned that I had used Adobe Lightroom 4.4 to crop my photos. I've actually been doing just that for quite some time now, but I've finally begun to really get into what Lightroom can really do - post-processing. My ethos as a photographer is to get it right the first time - to frame photos properly, to get the right aperture, have just the right speed shutter. But, I'm trying to learn, as well. And, I hate to say it, but by improving my images in Lightroom, I'm beginning to see what I need to focus on. As a learning tool, it's invaluable. As a tool to make photos look better? It's spectacular. Now, for the most part, my work in Lightroom is limited to two things:


1) Doing auto-lens correction based on Lightrooms algorithms. Distortion, lighting and color errors - all of these things have been determined for a number of lenses by Adobe. I batch them on import, and get the true image that I saw and took almost instantly. The difference is subtle, but it's there.

Straight out of the Camera(left image)                        Lens Corrected (right image)
Straight Out of the Camera Lens Corrected

Lens Corrected
2) Cropping. I don't have the long lens I want, nor the access I'd like to be able to take some of the photos I would like. To get around that, it's time to crop. All of those megapixels are useful for something, right?

Straight out of the Camera (left image)                       Cropped (right image)
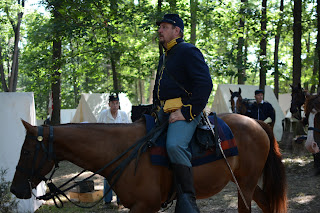
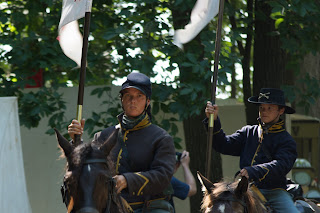
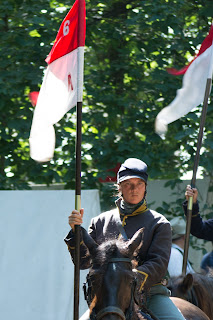
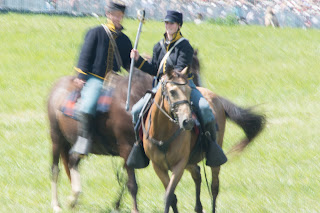
The day that I spent outside at Gettysburg was just a perfect day for a photographer. Action, periods of quiet, fascinating people, and unique scenes. It was simply amazing to witness these people bringing history to life. That, and wearing all of that heavy clothing on a day that was brilliantly sunny and in the mid-90s.

After preparing all of my images, I realized just how Lightroom and other post-processing software can turn into a crutch. Take a bad image? Fix it up with a few handy clicks. To make a passable image doesn't take a lot of effort, to be perfectly honest. But, the moment that you saw? It's lost. The photographer didn't capture the moment as it was. The photographer (me) captured the moment imperfectly, and then tried to make it look how it was after the fact.

Is it photography when you fix every image? Or is it then graphic design? I'm in the midst of reading Ansel Adams' book "The Camera." Every photo is perfectly captured with an expert eye and patience. Every paragraph encourages you to learn the craft by learning the equipment and taking pictures. But not by spraying and praying. Rather, by making composed images, and seeing how you can make them better.

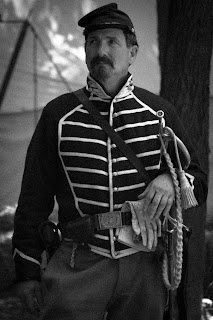
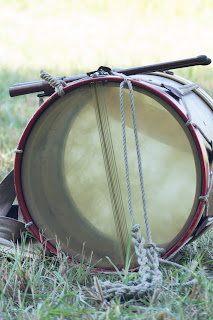
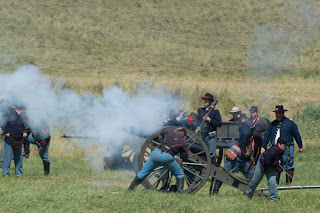
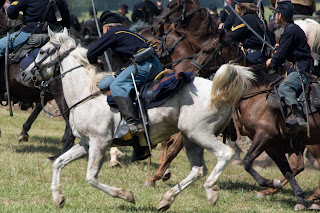
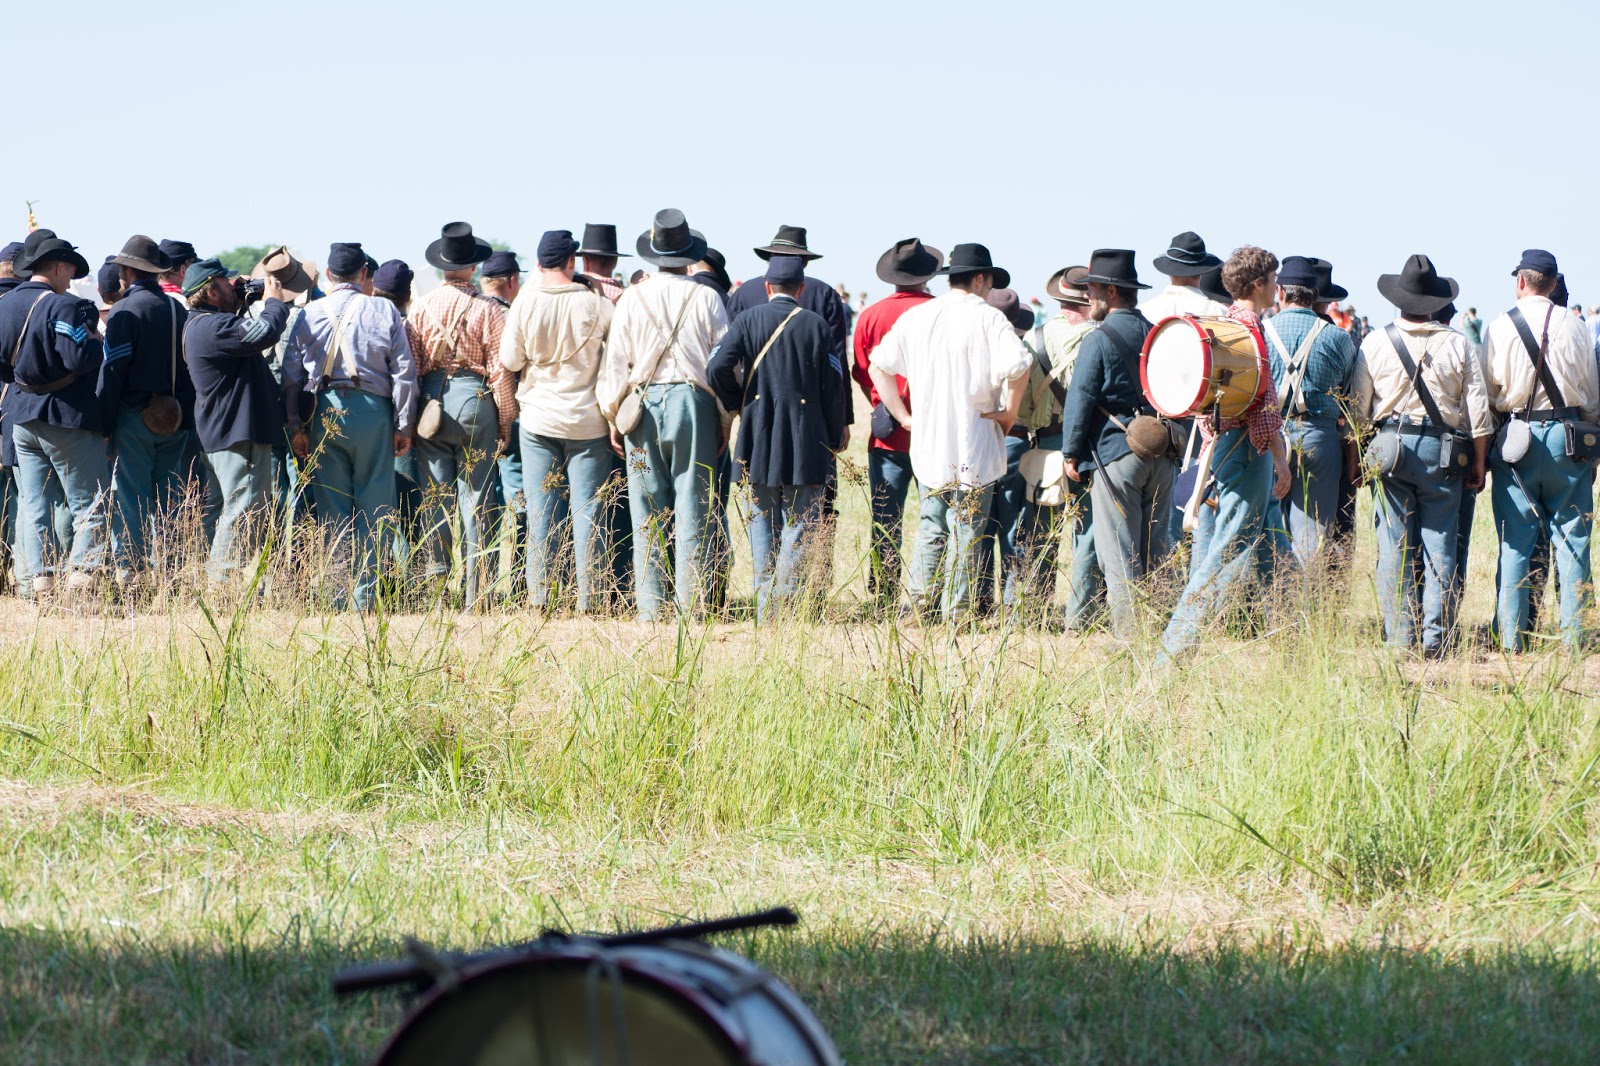
Below are my images from Gettysburg. I hope that you continue to the second image section to see the untouched images, along with a brief explanation of what operations were performed. In some cases, I simply cropped my 200mm lens image down to what it might look like out of a 400mm or larger lens. In some, I played with the color balance, exposure, and contrast. I love the final images. Despite that, I've learned that I need to focus more on the craft if I want to make better photos.

Equipment Used

Nikon D7100 Camera
55-200mm f/4-5.6 lens
35mm f/1.8 lens
B+W Circular Polarizer Filter


Post-Processed Images


Here are the final products. Some of them are completely untouched, save for a lens correction. I've put the original images, where applicable, in the same order in a second image section, along with a brief comment about the editing choices.

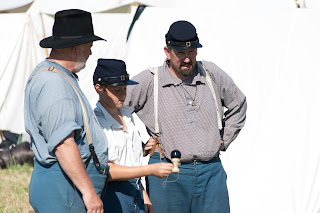
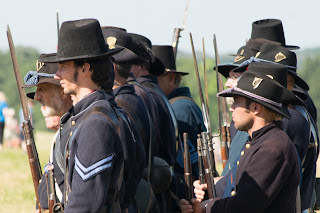
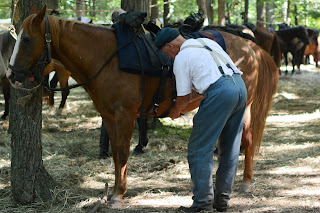
Unedited Images


Exposure Adjustment. This was sloppy. I snapped a photo when I realized I hadn't reset the shutter speed, but the moment wasn't as perfect.
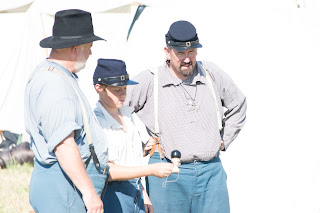

I adjusted the color temperature to warm this image. This could've been saved with better white balancing.
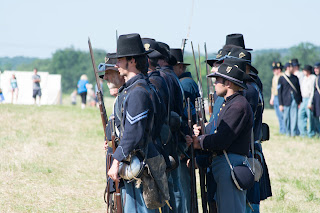

A simple crop. The light required a faster lens, but I couldn't get closer.
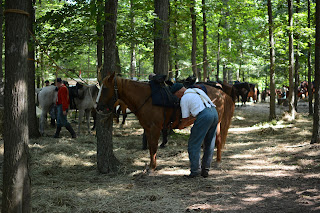

A crop for a better frame
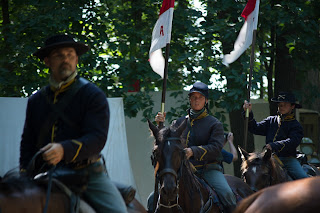

A crop for a better frame. The light makes this image - if only I had been quick enough to handle the changing f-stop, zoomed in, and dropped the shutter speed a touch.


I had fun with this one. I cropped the original image and decided it was the perfect way to try and recreate a period photograph. I used a number of preset adjustments, added vignetting, noise and mucked with the exposure in certain portions of the picture.


This is the photo that opened my eyes. The original image? Was not what I imagined when I saw the drum laying there. The exact image I wanted was only produced once I cropped what I had snapped. That's lazy photography!
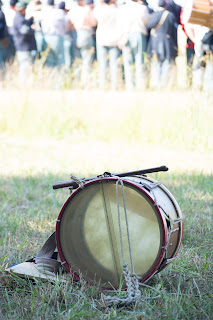

A crop to narrow the focus of the image.


A crop to narrow the focus of the image
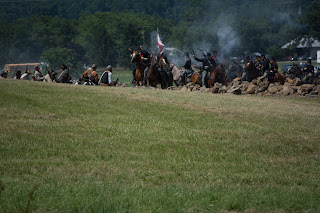

A crop to narrow the focus, but also an increase in the prominence of black highlights. This created more drama and power in the horse, I felt.
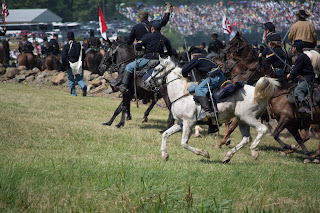

A crop to narrow the focus, followed by some warmer colors and an increase in the prominence of black highlights. This is the most heavily processed image, yet it still looks natural.
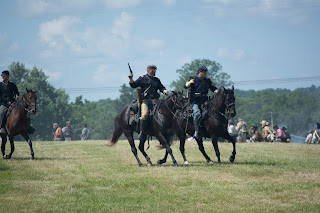

A crop to narrow the focus. I intentionally dropped the shutter speed and brought the f-stop all the way up to 20 in order to try and capture the motion of the horses. I took better examples of that technique, but somehow the smile on the young woman carrying away a "captured" Rebel sword made this one my favorite.