 In my last post I mentioned that I had used Adobe Lightroom 4.4 to crop
my photos. I've actually been doing just that for quite some time now,
but I've finally begun to really get into what Lightroom can really do -
post-processing. My ethos as a photographer is to get it right the first time - to frame photos properly, to get the right aperture, have just the right speed shutter. But, I'm trying to learn, as well. And, I hate to say it, but by improving my images in Lightroom, I'm beginning to see what I need to focus on. As a learning tool, it's invaluable. As a tool to make photos look better? It's spectacular. Now, for the most part, my work in Lightroom is limited to two things:
In my last post I mentioned that I had used Adobe Lightroom 4.4 to crop
my photos. I've actually been doing just that for quite some time now,
but I've finally begun to really get into what Lightroom can really do -
post-processing. My ethos as a photographer is to get it right the first time - to frame photos properly, to get the right aperture, have just the right speed shutter. But, I'm trying to learn, as well. And, I hate to say it, but by improving my images in Lightroom, I'm beginning to see what I need to focus on. As a learning tool, it's invaluable. As a tool to make photos look better? It's spectacular. Now, for the most part, my work in Lightroom is limited to two things:1) Doing auto-lens correction based on Lightrooms algorithms. Distortion, lighting and color errors - all of these things have been determined for a number of lenses by Adobe. I batch them on import, and get the true image that I saw and took almost instantly. The difference is subtle, but it's there.
Straight out of the Camera(left image) Lens Corrected (right image)


Lens Corrected
2) Cropping. I don't have the long lens I want, nor the access I'd like to be able to take some of the photos I would like. To get around that, it's time to crop. All of those megapixels are useful for something, right?
Straight out of the Camera (left image) Cropped (right image)

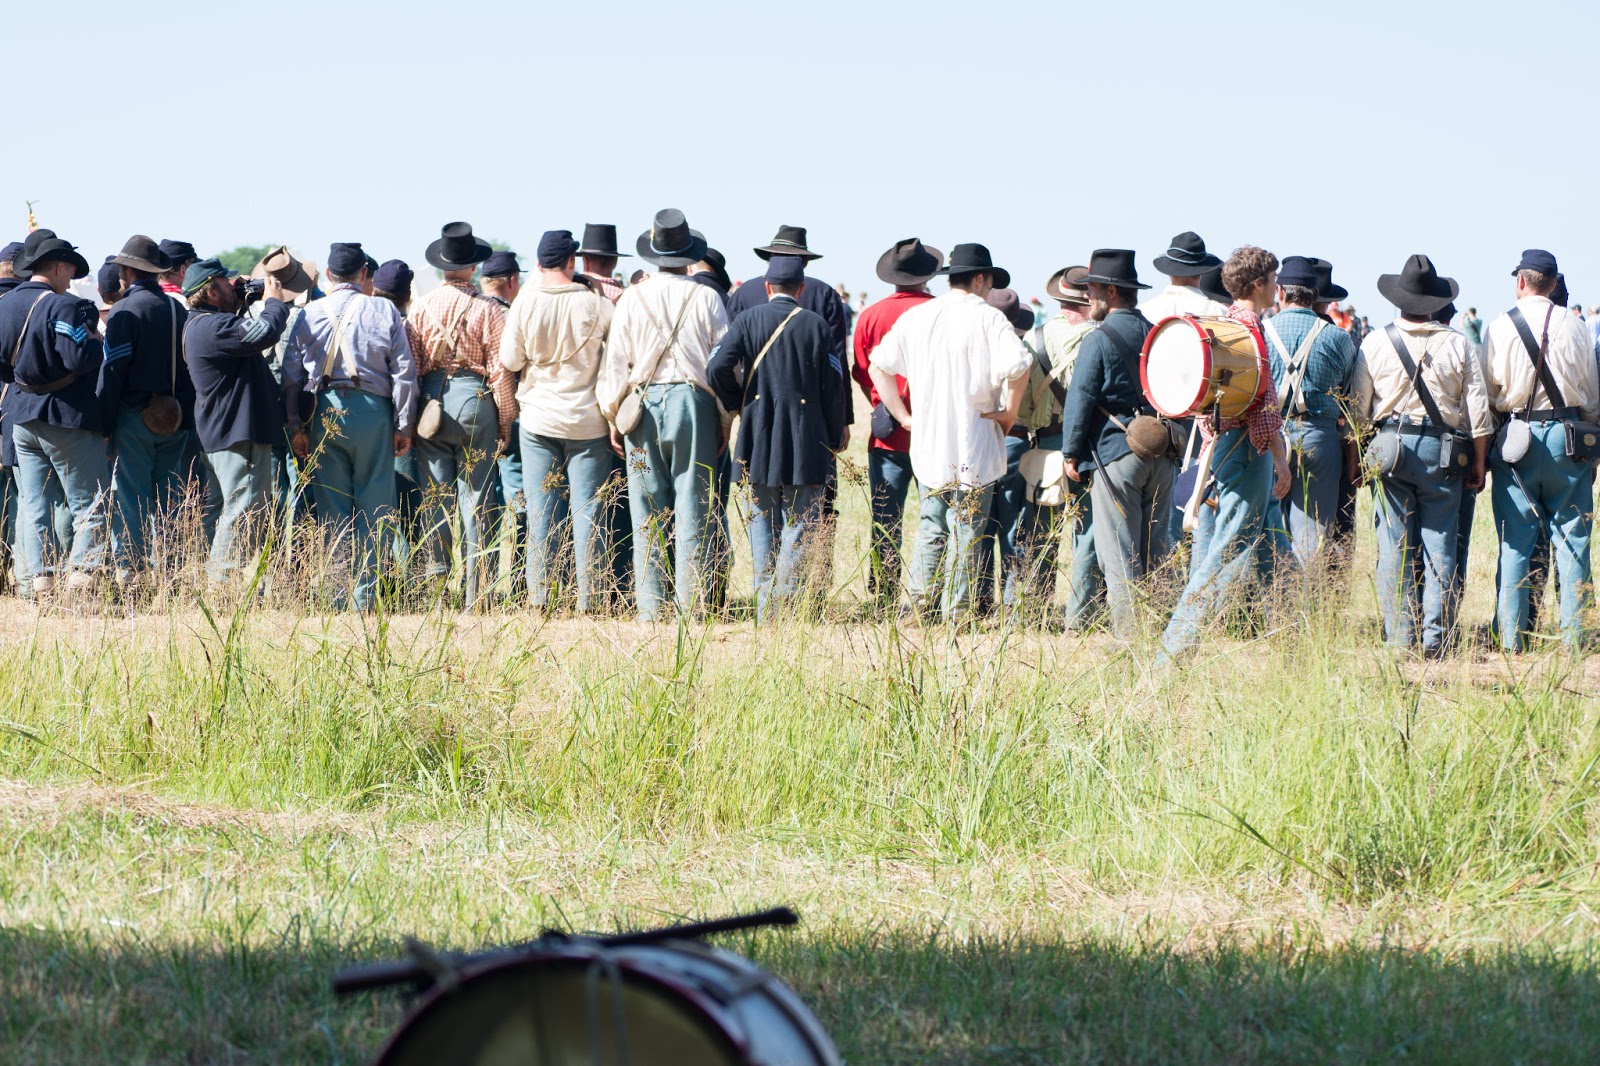
The day that I spent outside at Gettysburg was just a perfect day for a photographer. Action, periods of quiet, fascinating people, and unique scenes. It was simply amazing to witness these people bringing history to life. That, and wearing all of that heavy clothing on a day that was brilliantly sunny and in the mid-90s.
After preparing all of my images, I realized just how Lightroom and other post-processing software can turn into a crutch. Take a bad image? Fix it up with a few handy clicks. To make a passable image doesn't take a lot of effort, to be perfectly honest. But, the moment that you saw? It's lost. The photographer didn't capture the moment as it was. The photographer (me) captured the moment imperfectly, and then tried to make it look how it was after the fact.
Is it photography when you fix every image? Or is it then graphic design? I'm in the midst of reading Ansel Adams' book "The Camera." Every photo is perfectly captured with an expert eye and patience. Every paragraph encourages you to learn the craft by learning the equipment and taking pictures. But not by spraying and praying. Rather, by making composed images, and seeing how you can make them better.
Below are my images from Gettysburg. I hope that you continue to the second image section to see the untouched images, along with a brief explanation of what operations were performed. In some cases, I simply cropped my 200mm lens image down to what it might look like out of a 400mm or larger lens. In some, I played with the color balance, exposure, and contrast. I love the final images. Despite that, I've learned that I need to focus more on the craft if I want to make better photos.
Equipment Used
Nikon D7100 Camera55-200mm f/4-5.6 lens
35mm f/1.8 lens
B+W Circular Polarizer Filter
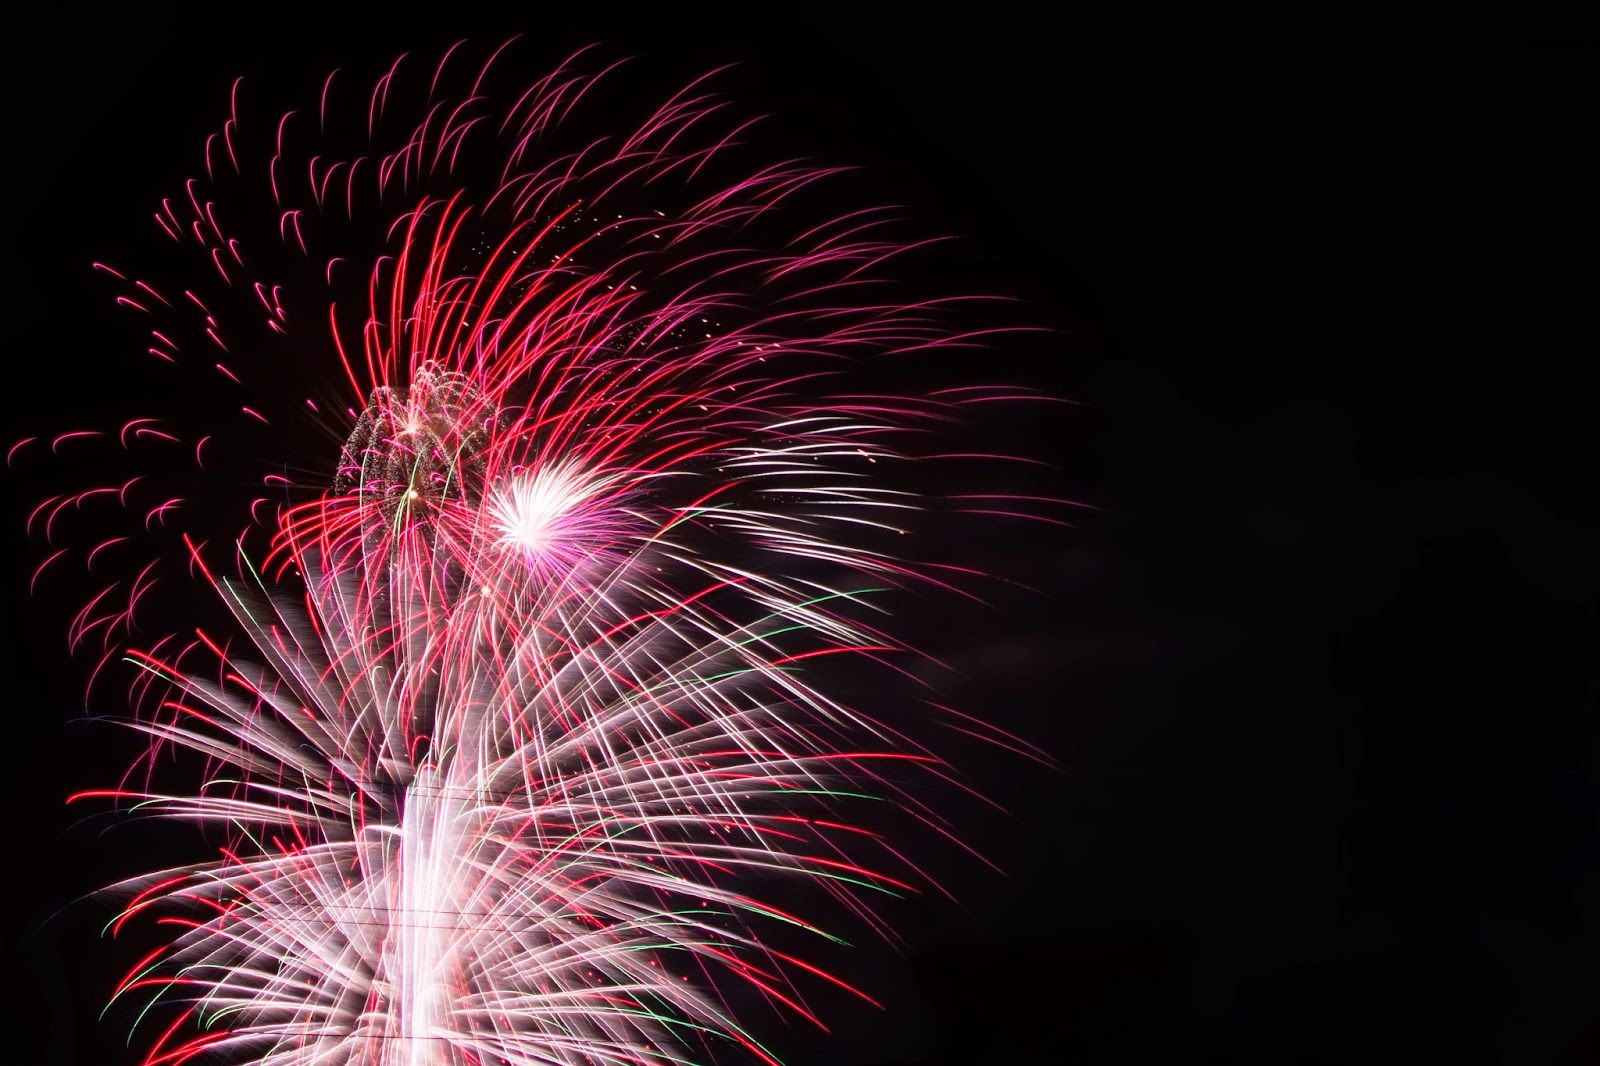
Post-Processed Images
Here are the final products. Some of them are completely untouched, save for a lens correction. I've put the original images, where applicable, in the same order in a second image section, along with a brief comment about the editing choices.


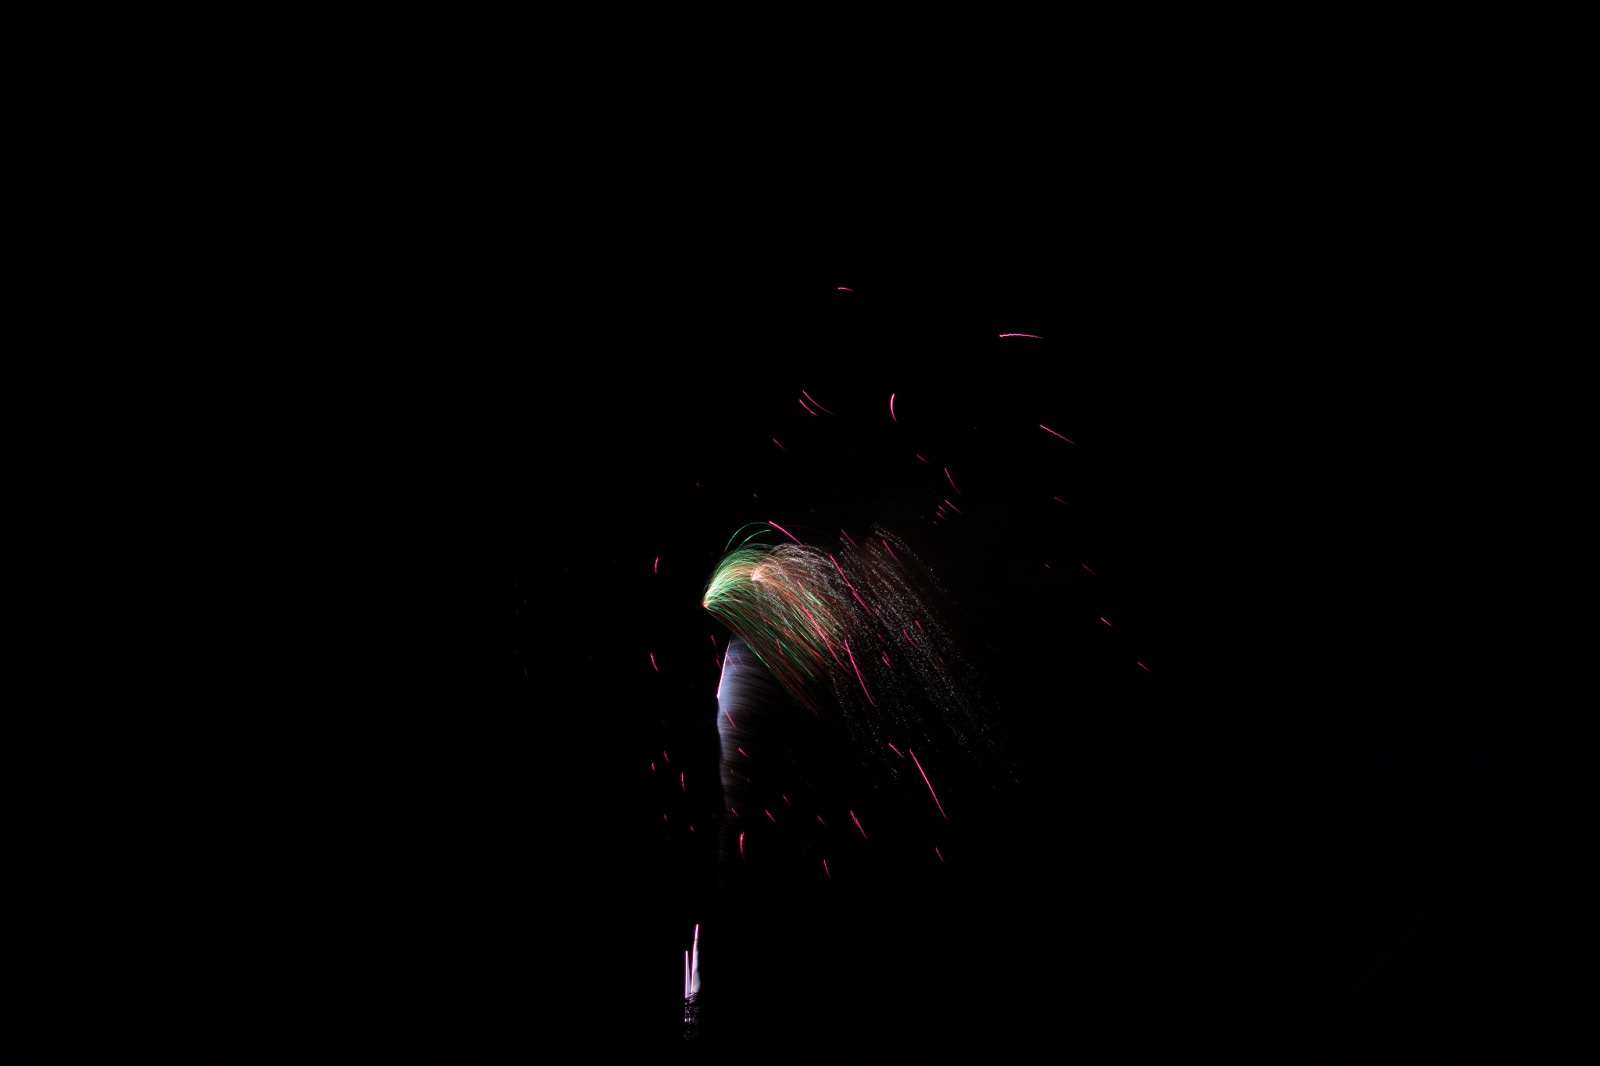
Unedited Images
Exposure Adjustment. This was sloppy. I snapped a photo when I realized I hadn't reset the shutter speed, but the moment wasn't as perfect.

I adjusted the color temperature to warm this image. This could've been saved with better white balancing.

A simple crop. The light required a faster lens, but I couldn't get closer.

A crop for a better frame

A crop for a better frame. The light makes this image - if only I had been quick enough to handle the changing f-stop, zoomed in, and dropped the shutter speed a touch.

I had fun with this one. I cropped the original image and decided it was the perfect way to try and recreate a period photograph. I used a number of preset adjustments, added vignetting, noise and mucked with the exposure in certain portions of the picture.

This is the photo that opened my eyes. The original image? Was not what I imagined when I saw the drum laying there. The exact image I wanted was only produced once I cropped what I had snapped. That's lazy photography!

A crop to narrow the focus of the image.

A crop to narrow the focus of the image

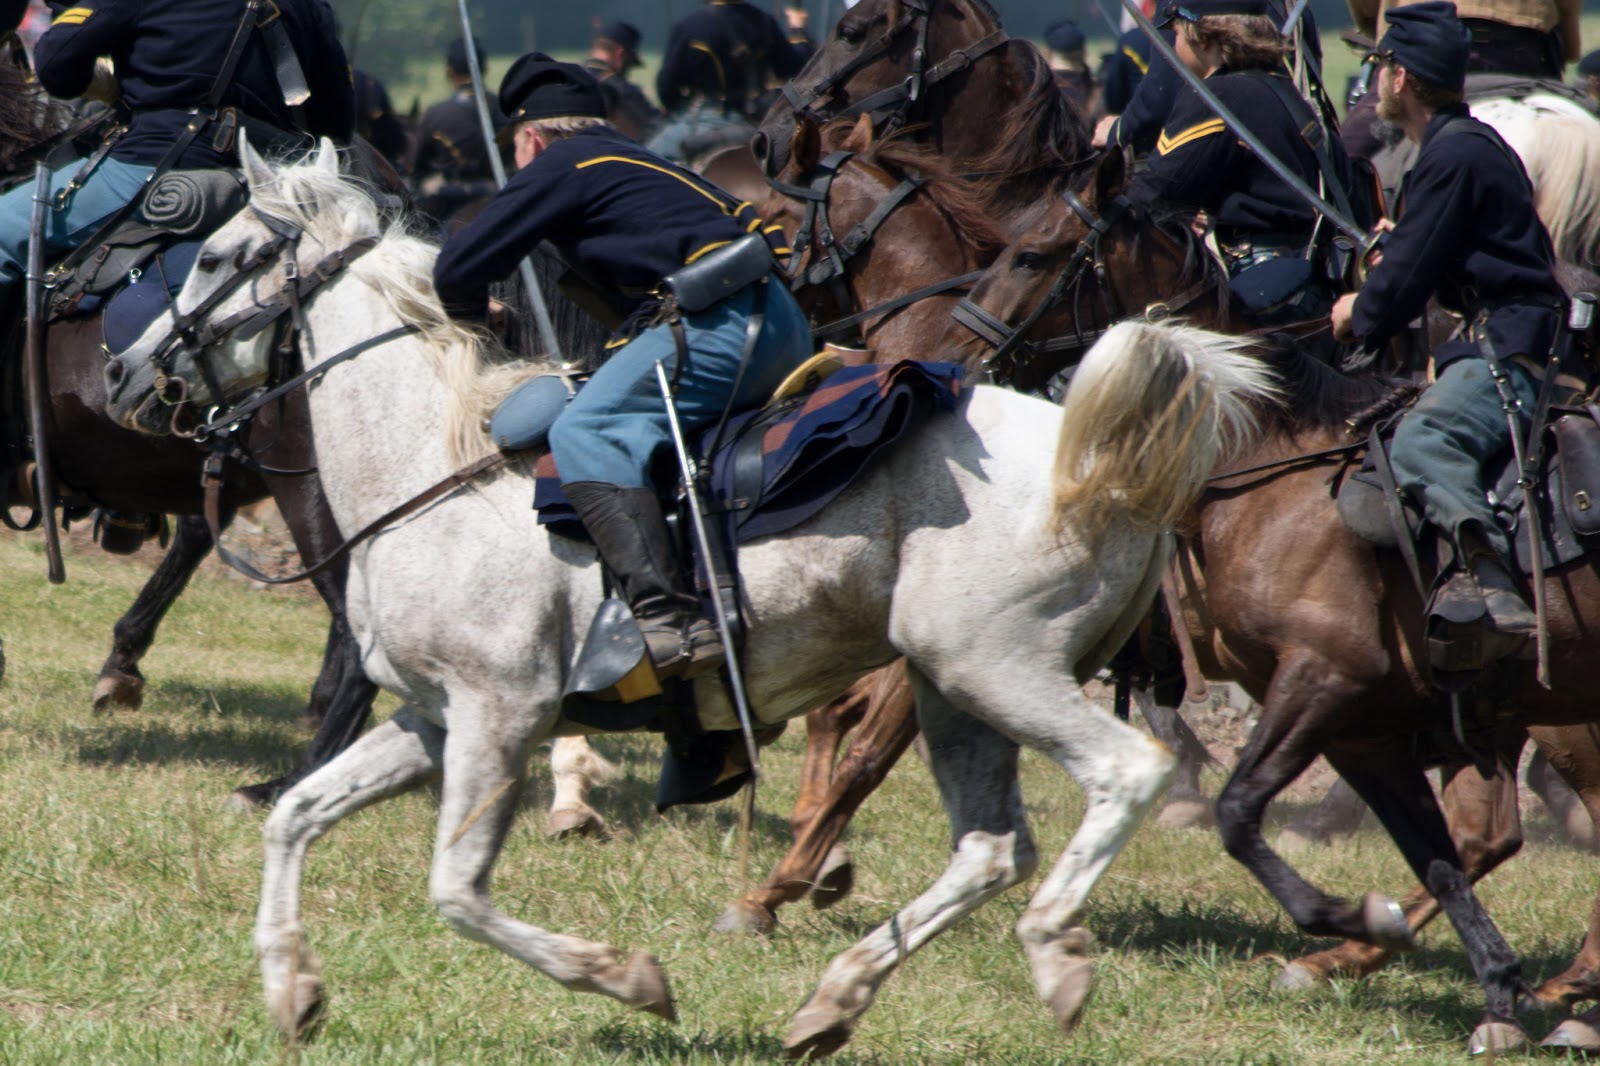
A crop to narrow the focus, but also an increase in the prominence of black highlights. This created more drama and power in the horse, I felt.

A crop to narrow the focus, followed by some warmer colors and an increase in the prominence of black highlights. This is the most heavily processed image, yet it still looks natural.

A crop to narrow the focus. I intentionally dropped the shutter speed and brought the f-stop all the way up to 20 in order to try and capture the motion of the horses. I took better examples of that technique, but somehow the smile on the young woman carrying away a "captured" Rebel sword made this one my favorite.